


.svg)

Claiming a .locker Digital Identity With an Existing Wallet


Claiming a .locker digital identity with an existing digital wallet is easy. After registering a .locker domain name with a registrar or reseller of choice, registrants will receive an email from .locker with a Claim Now link. That begins the process of claiming a .locker digital identity on the Ethereum blockchain.
Before You Start
- .locker is compatible with EVM digital wallets
- Be sure to use the latest version of your browser
- Enable pop-ups and third party cookies. If you can’t find the digital wallet window at any time, be sure your browser window isn’t blocking it
- Be mindful of safety and security practices. Never share your private key or seedphrase with anyone- including .locker! .locker will never request this information from you. Only approve requests coming from your digital wallet extension or app.my.locker. Always double check that URLs are correct before completing any activities
If you run into any issues with claiming your digital identity, contact .locker’s support team. Your domain registrar will not be able to assist with this process.
How to Claim a Digital Identity With an Existing Wallet
Watch the video, or review our step-by-step guide below.
After registering a .locker domain name, you will receive an email from .locker with the link to claim your digital identity. In your email, click the “Claim Now” link to start the claiming process.
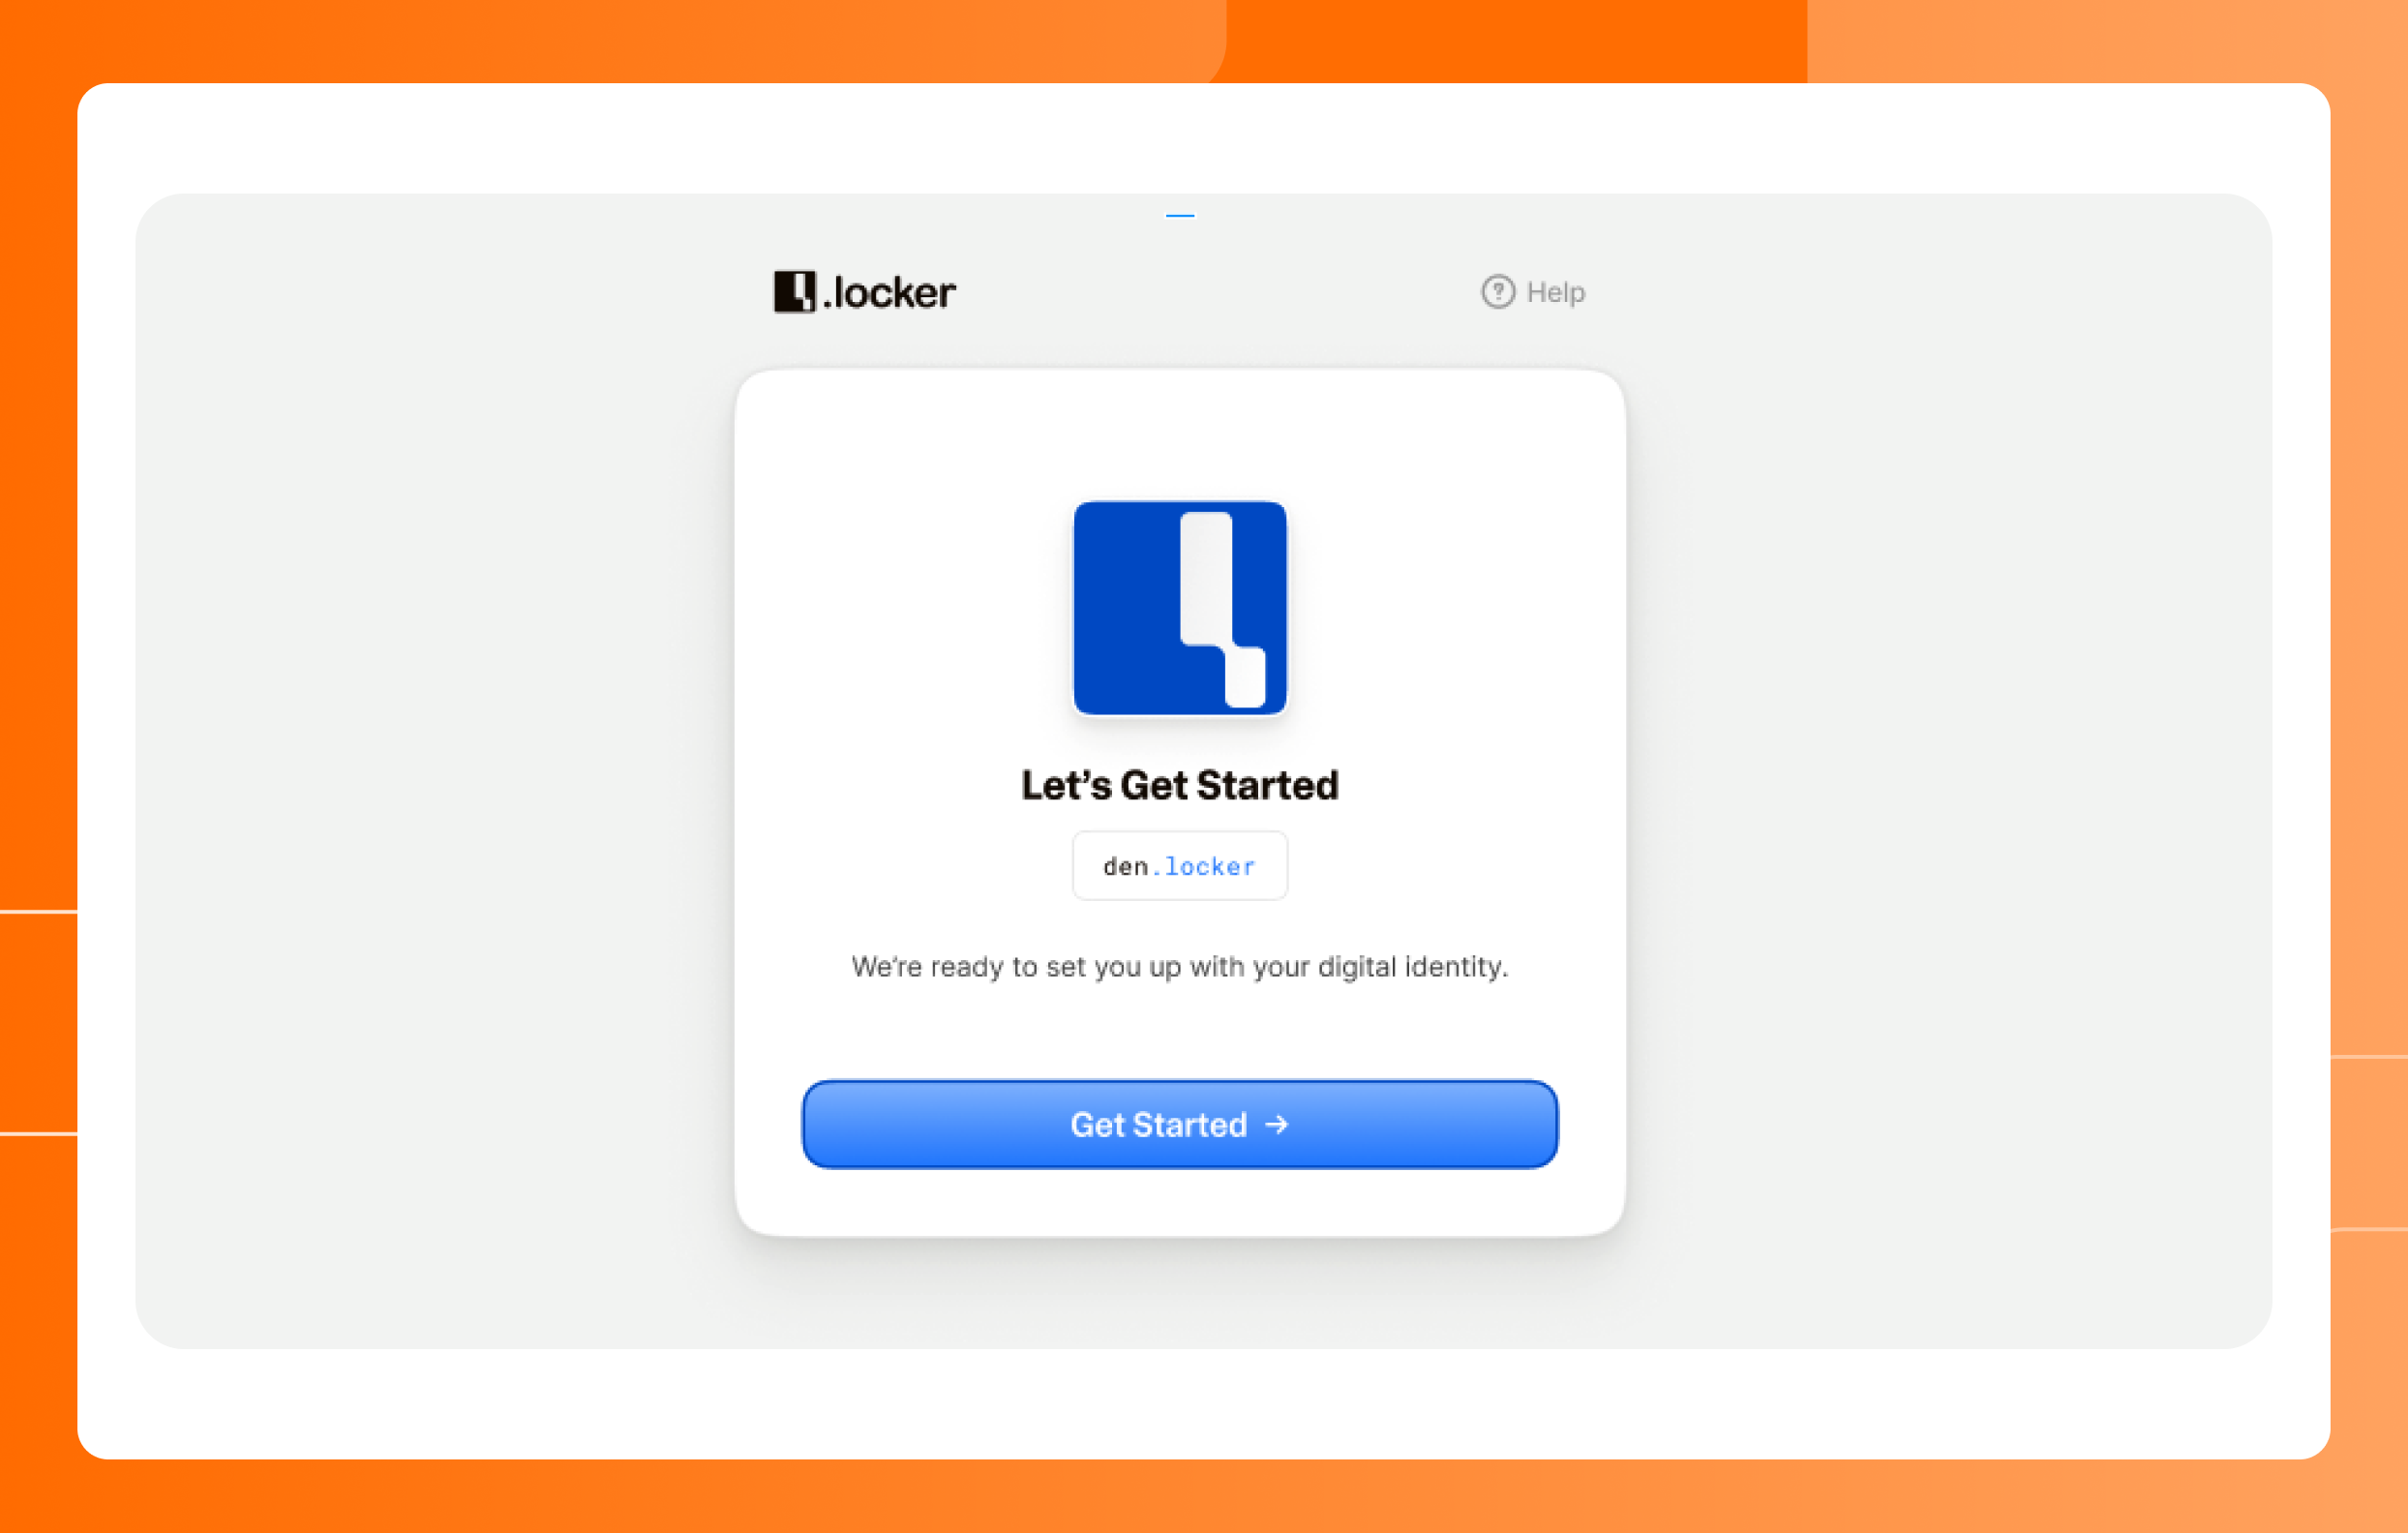
1. Click “Get Started” in the .locker application.
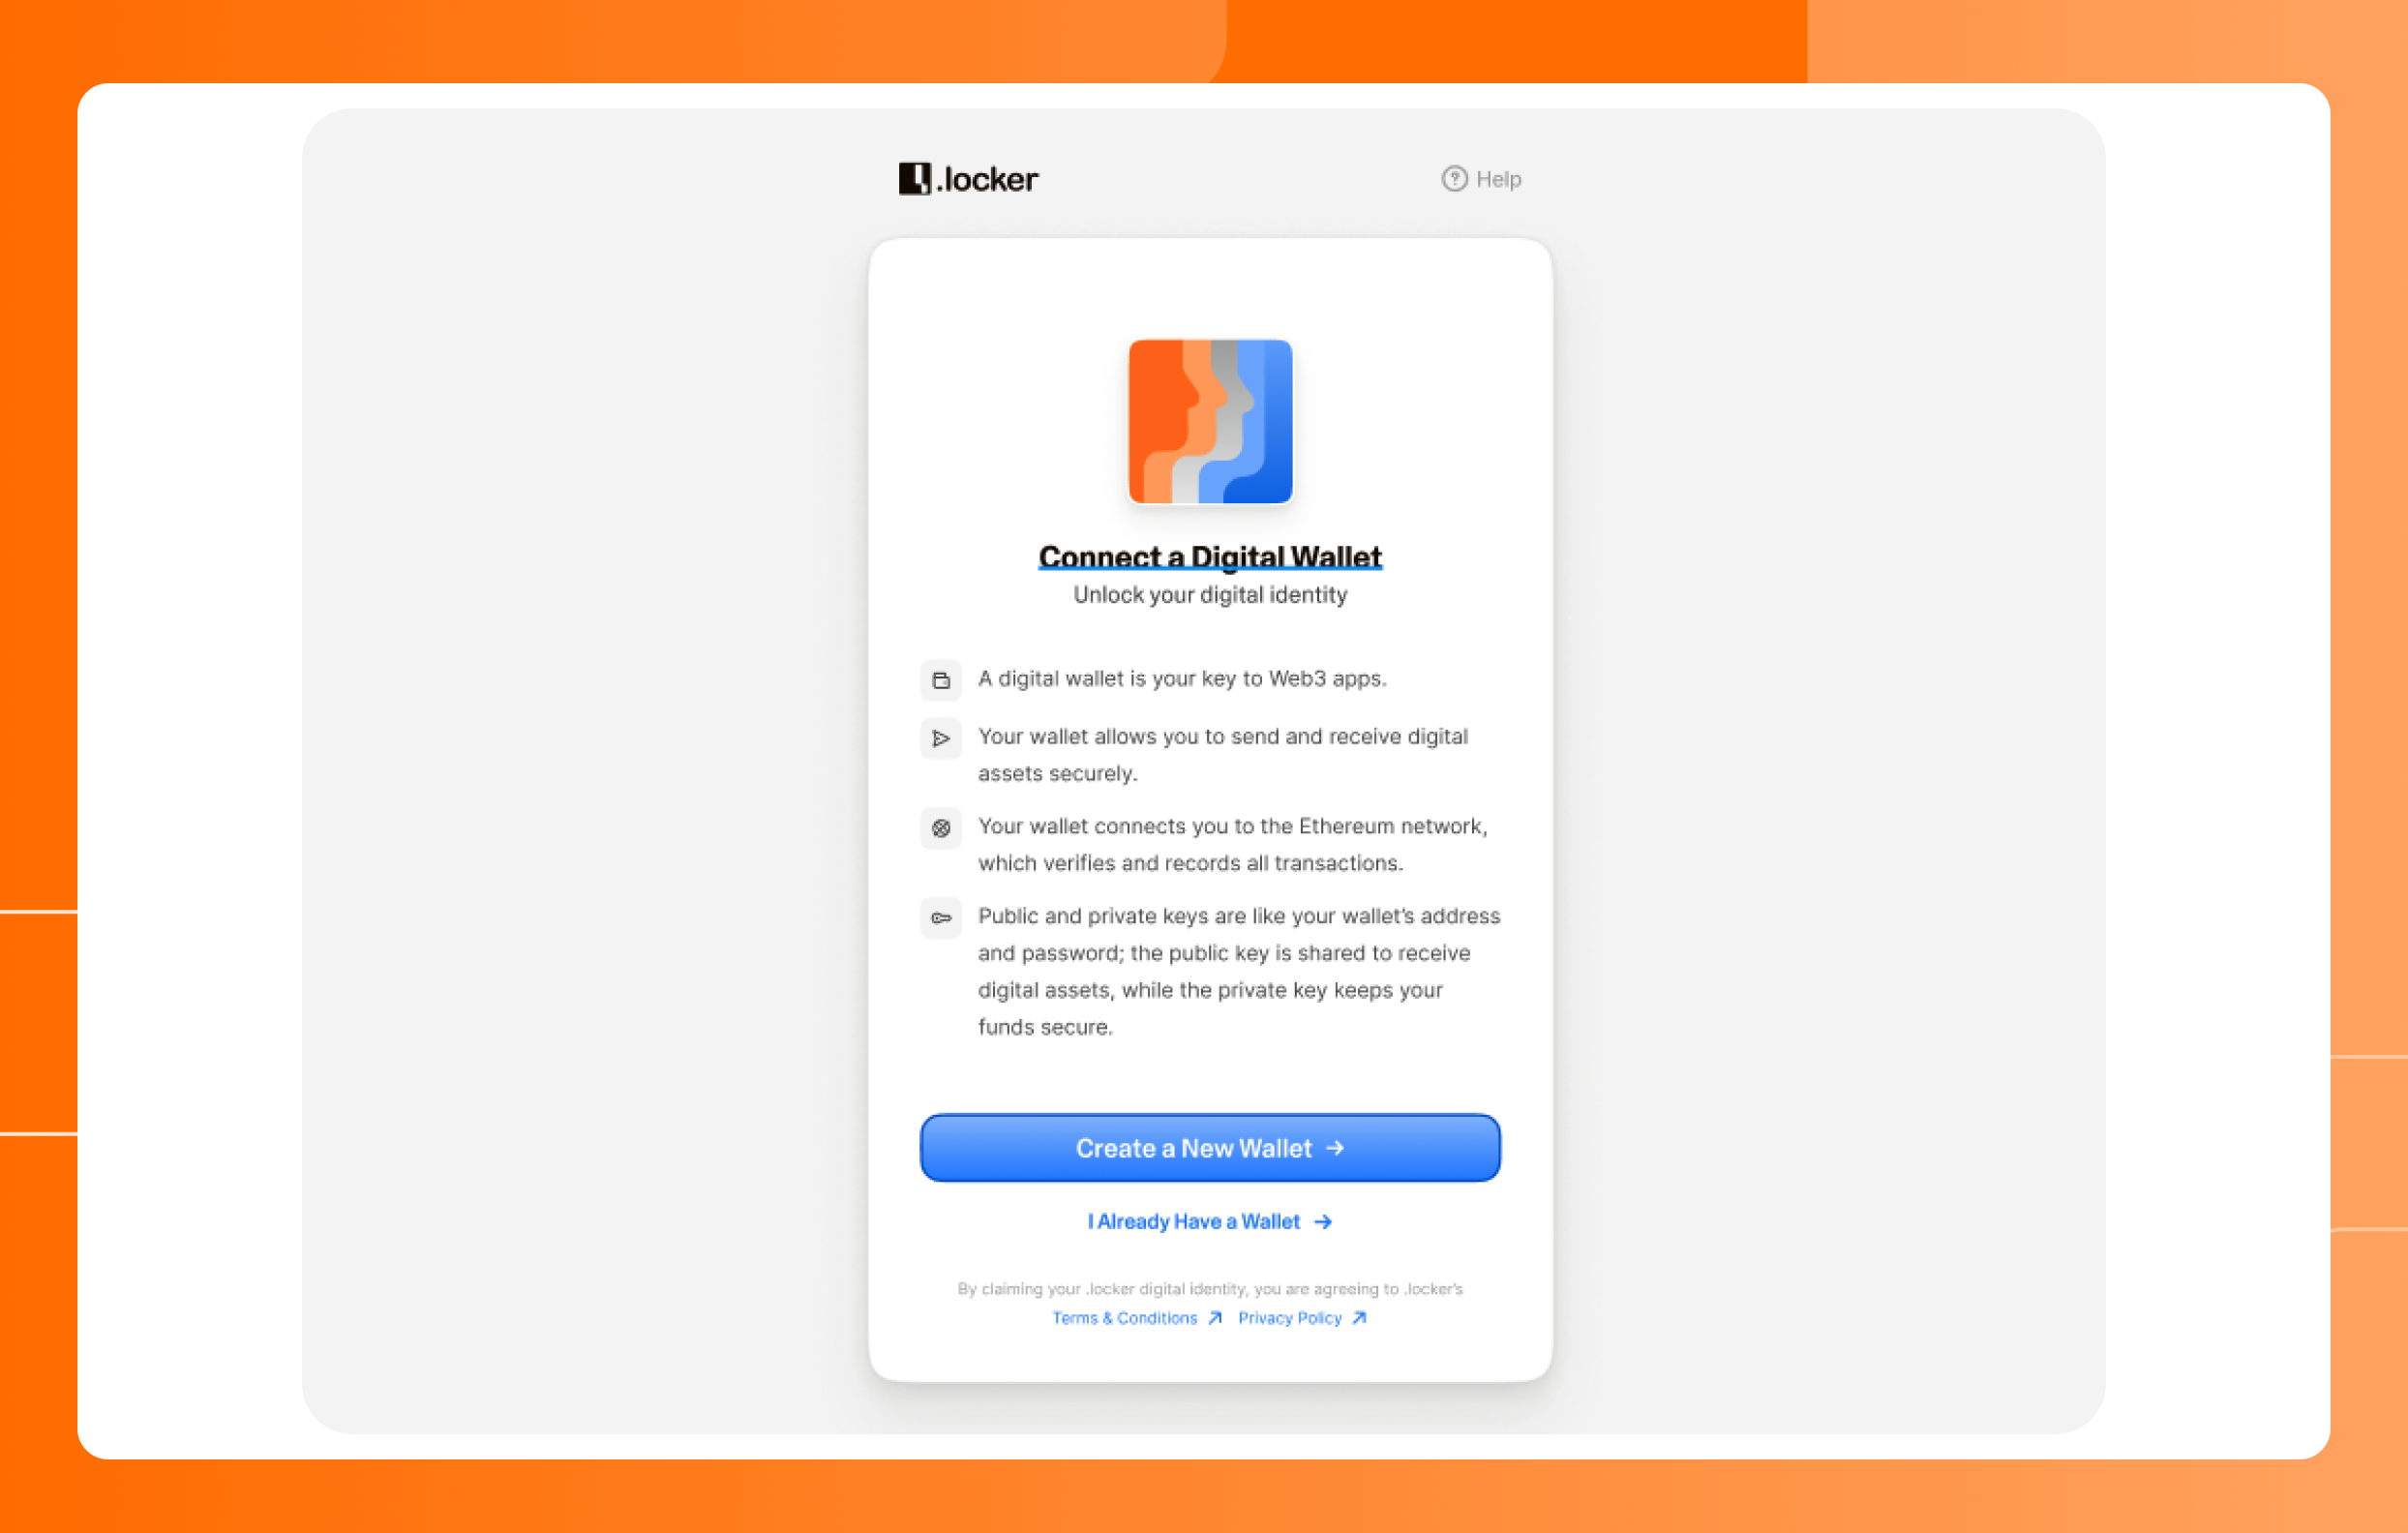
2. Select “I Already Have a Wallet."
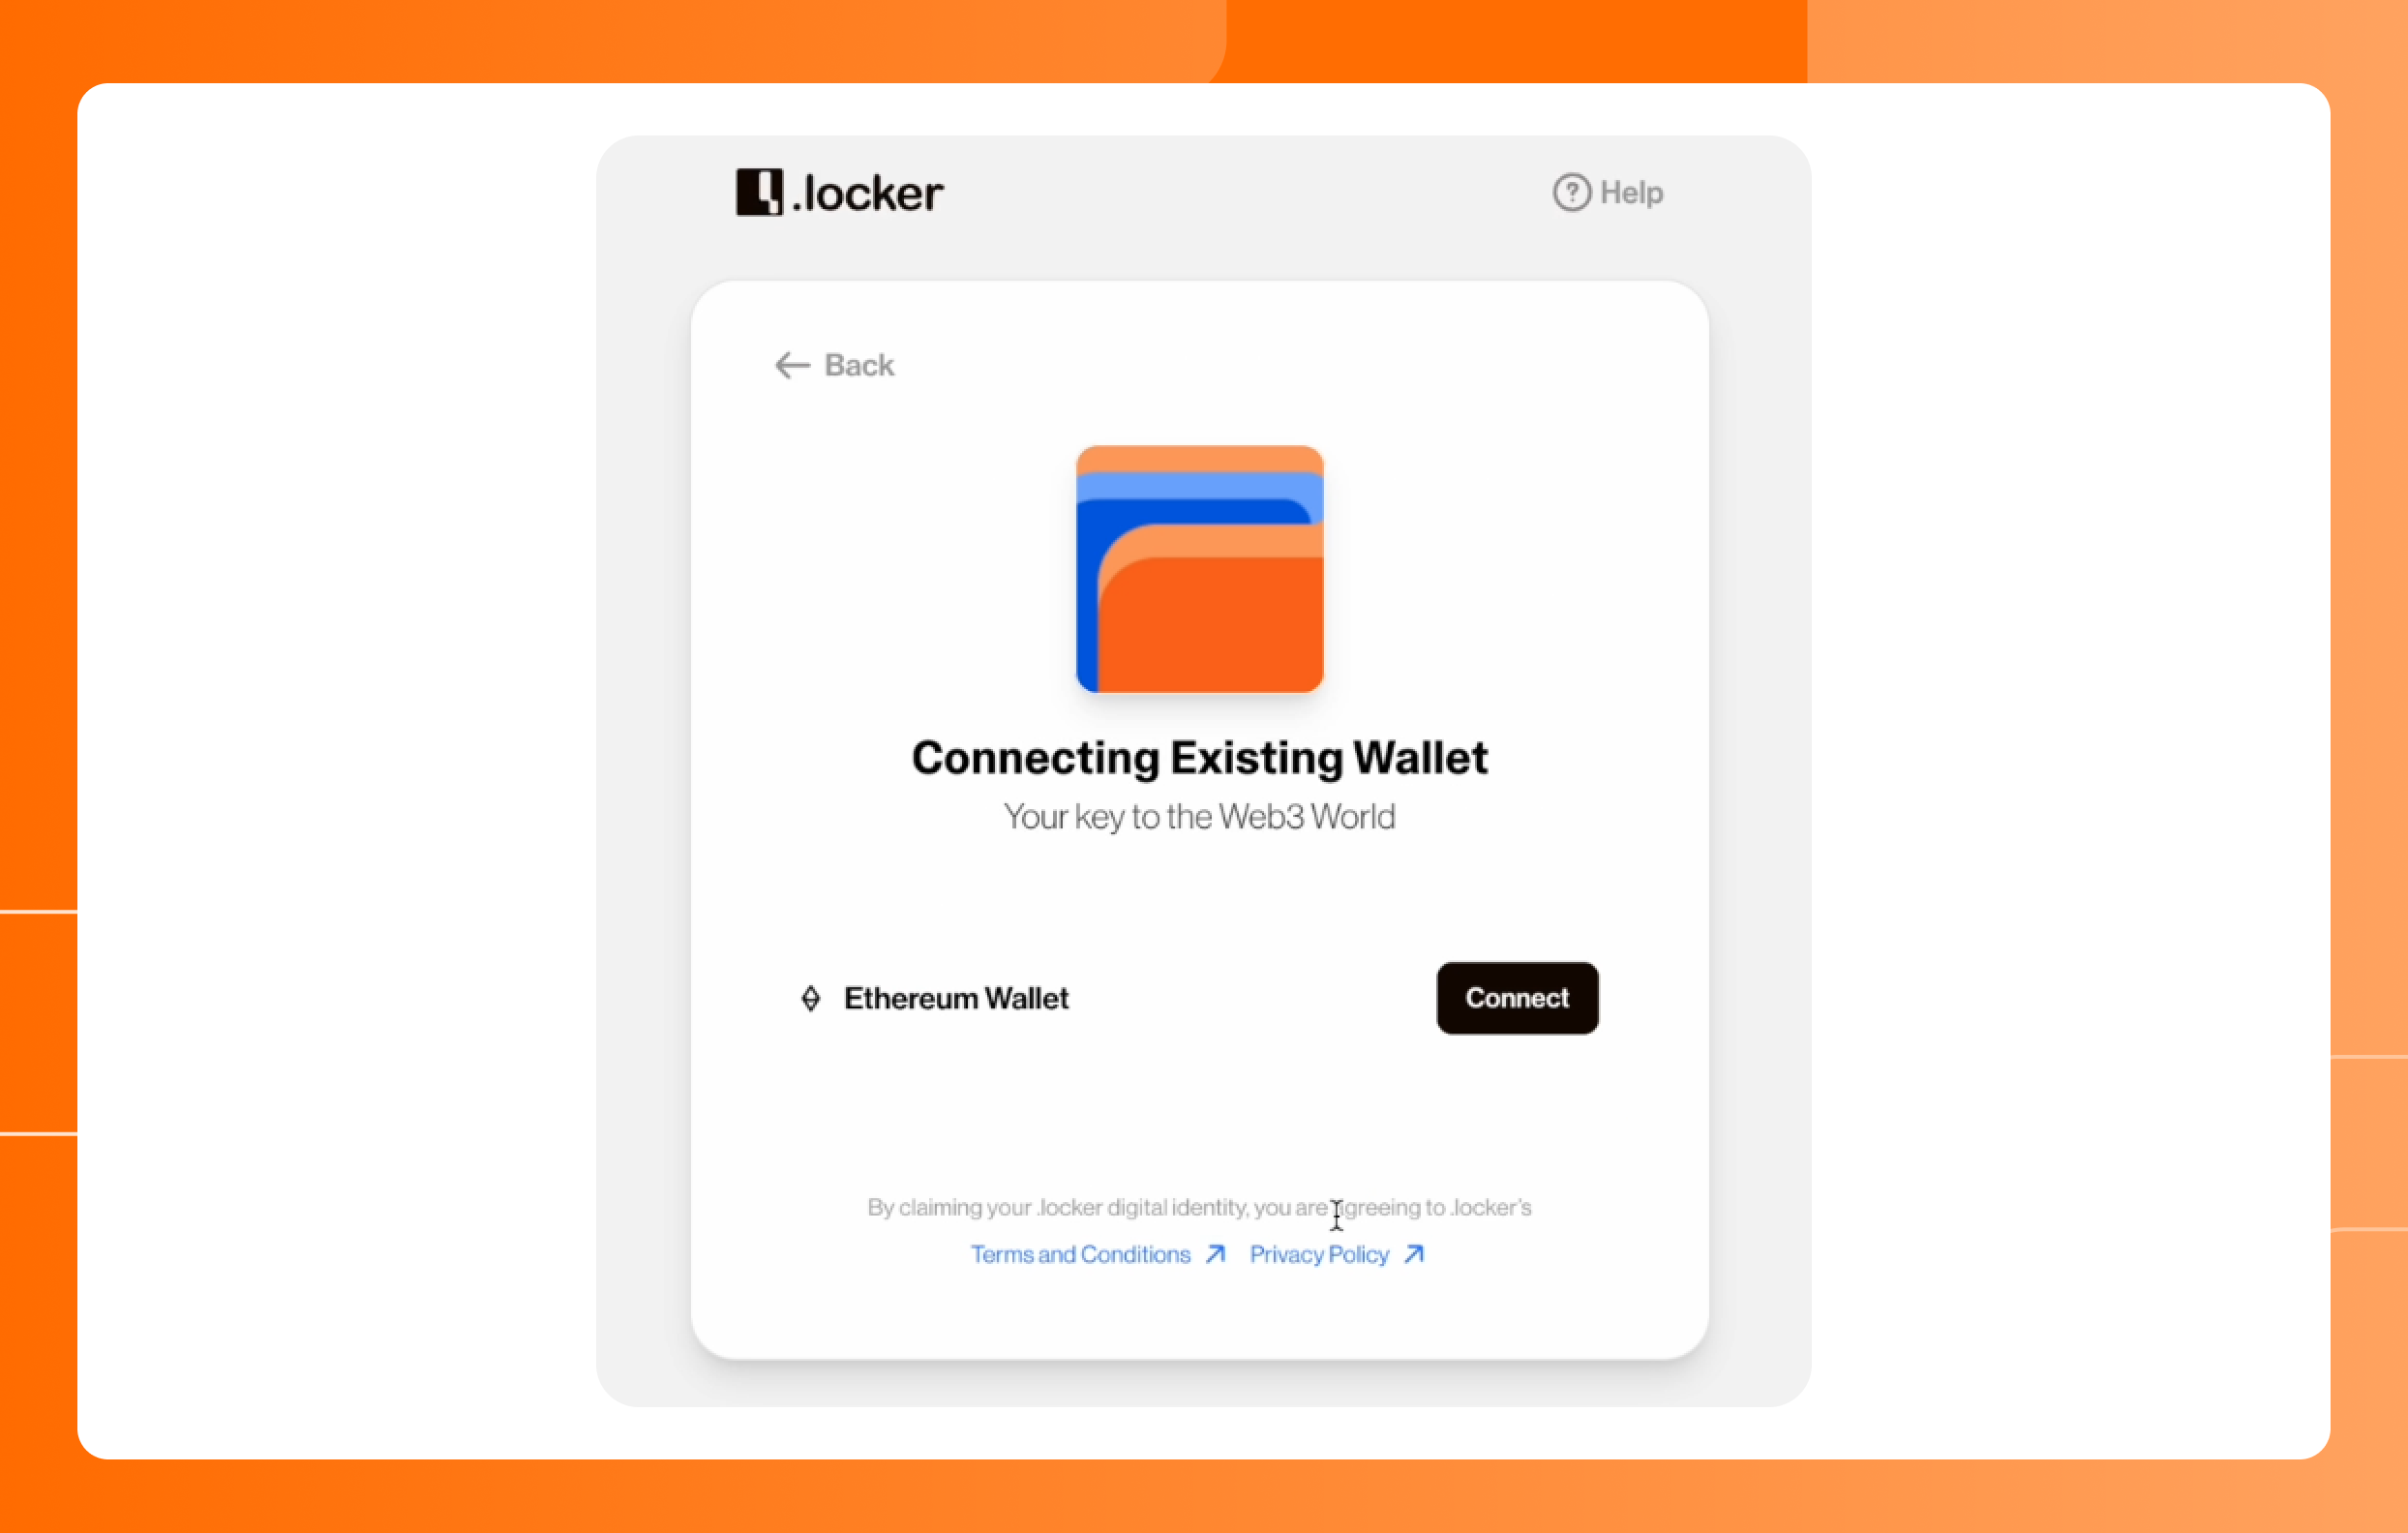
3. Click the "Connect" button.
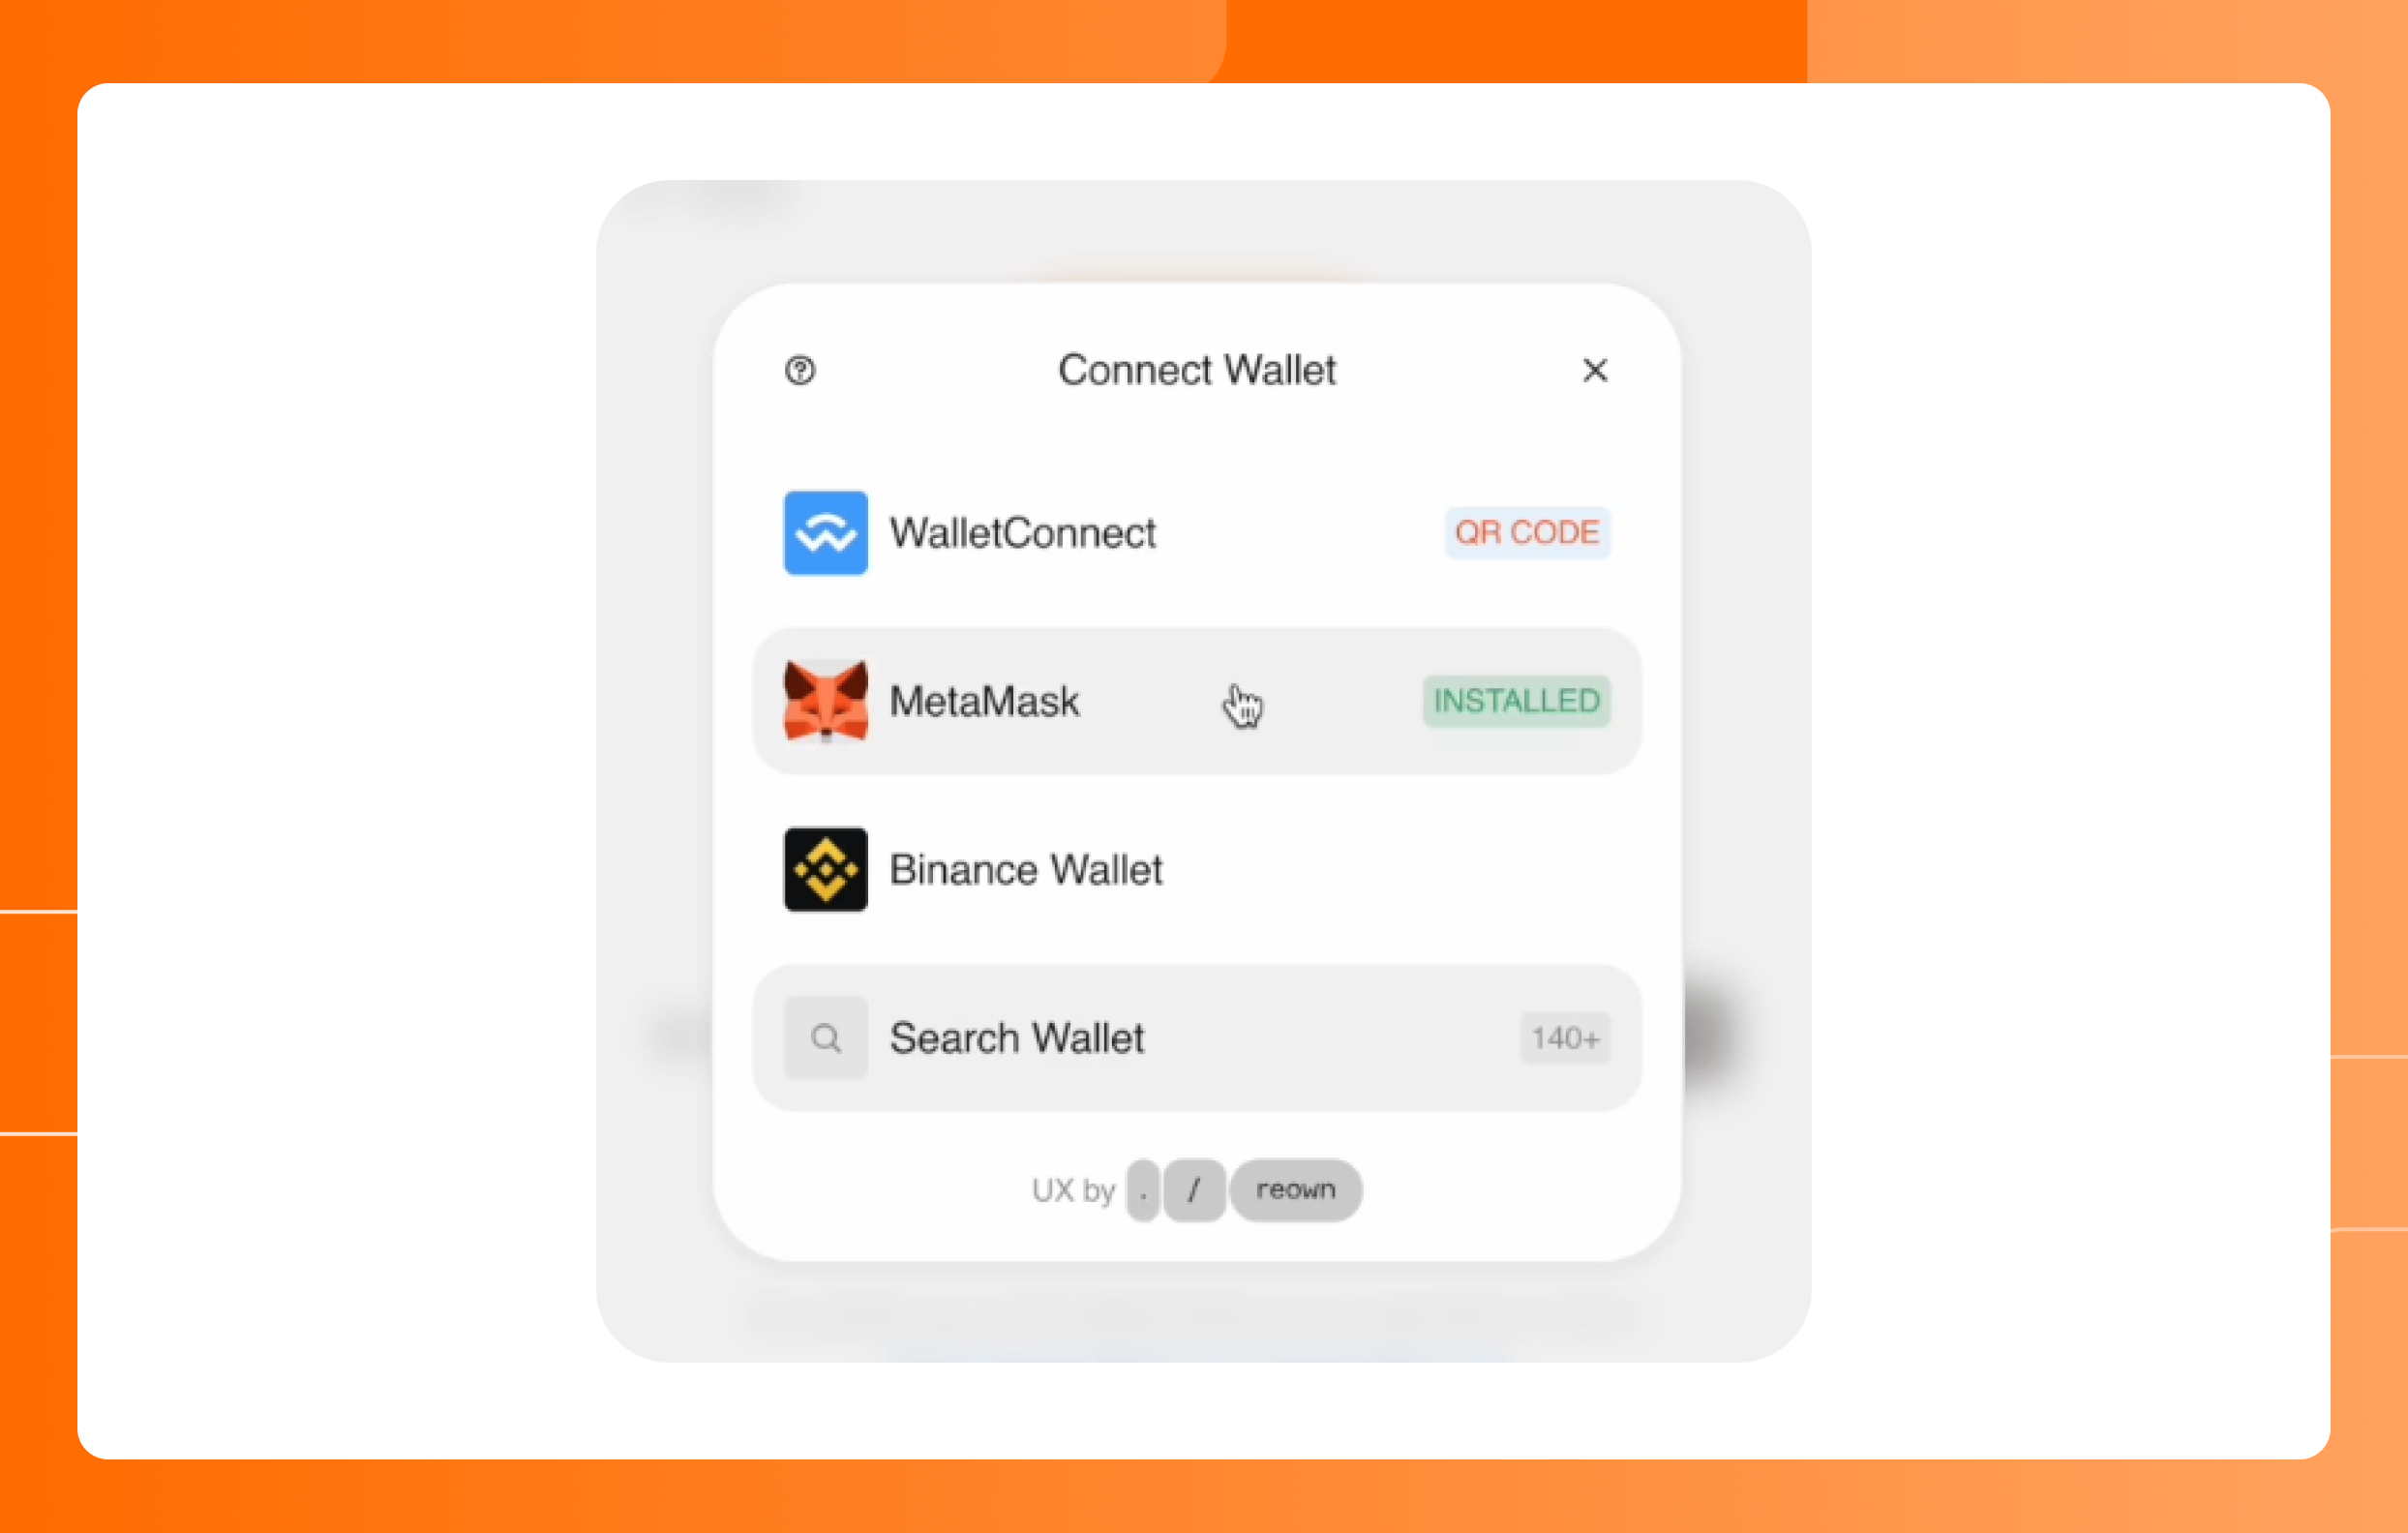
4. Choose your desired EVM digital wallet provider from the list. If necessary, sign into your existing digital wallet to start the connection with .locker.
5. Finalize the connection between your digital wallet and your .locker digital identity by clicking “Connect.” You’ll be asked to sign a transaction with your digital wallet. This signature authorizes the connection of the digital wallet and digital identity.
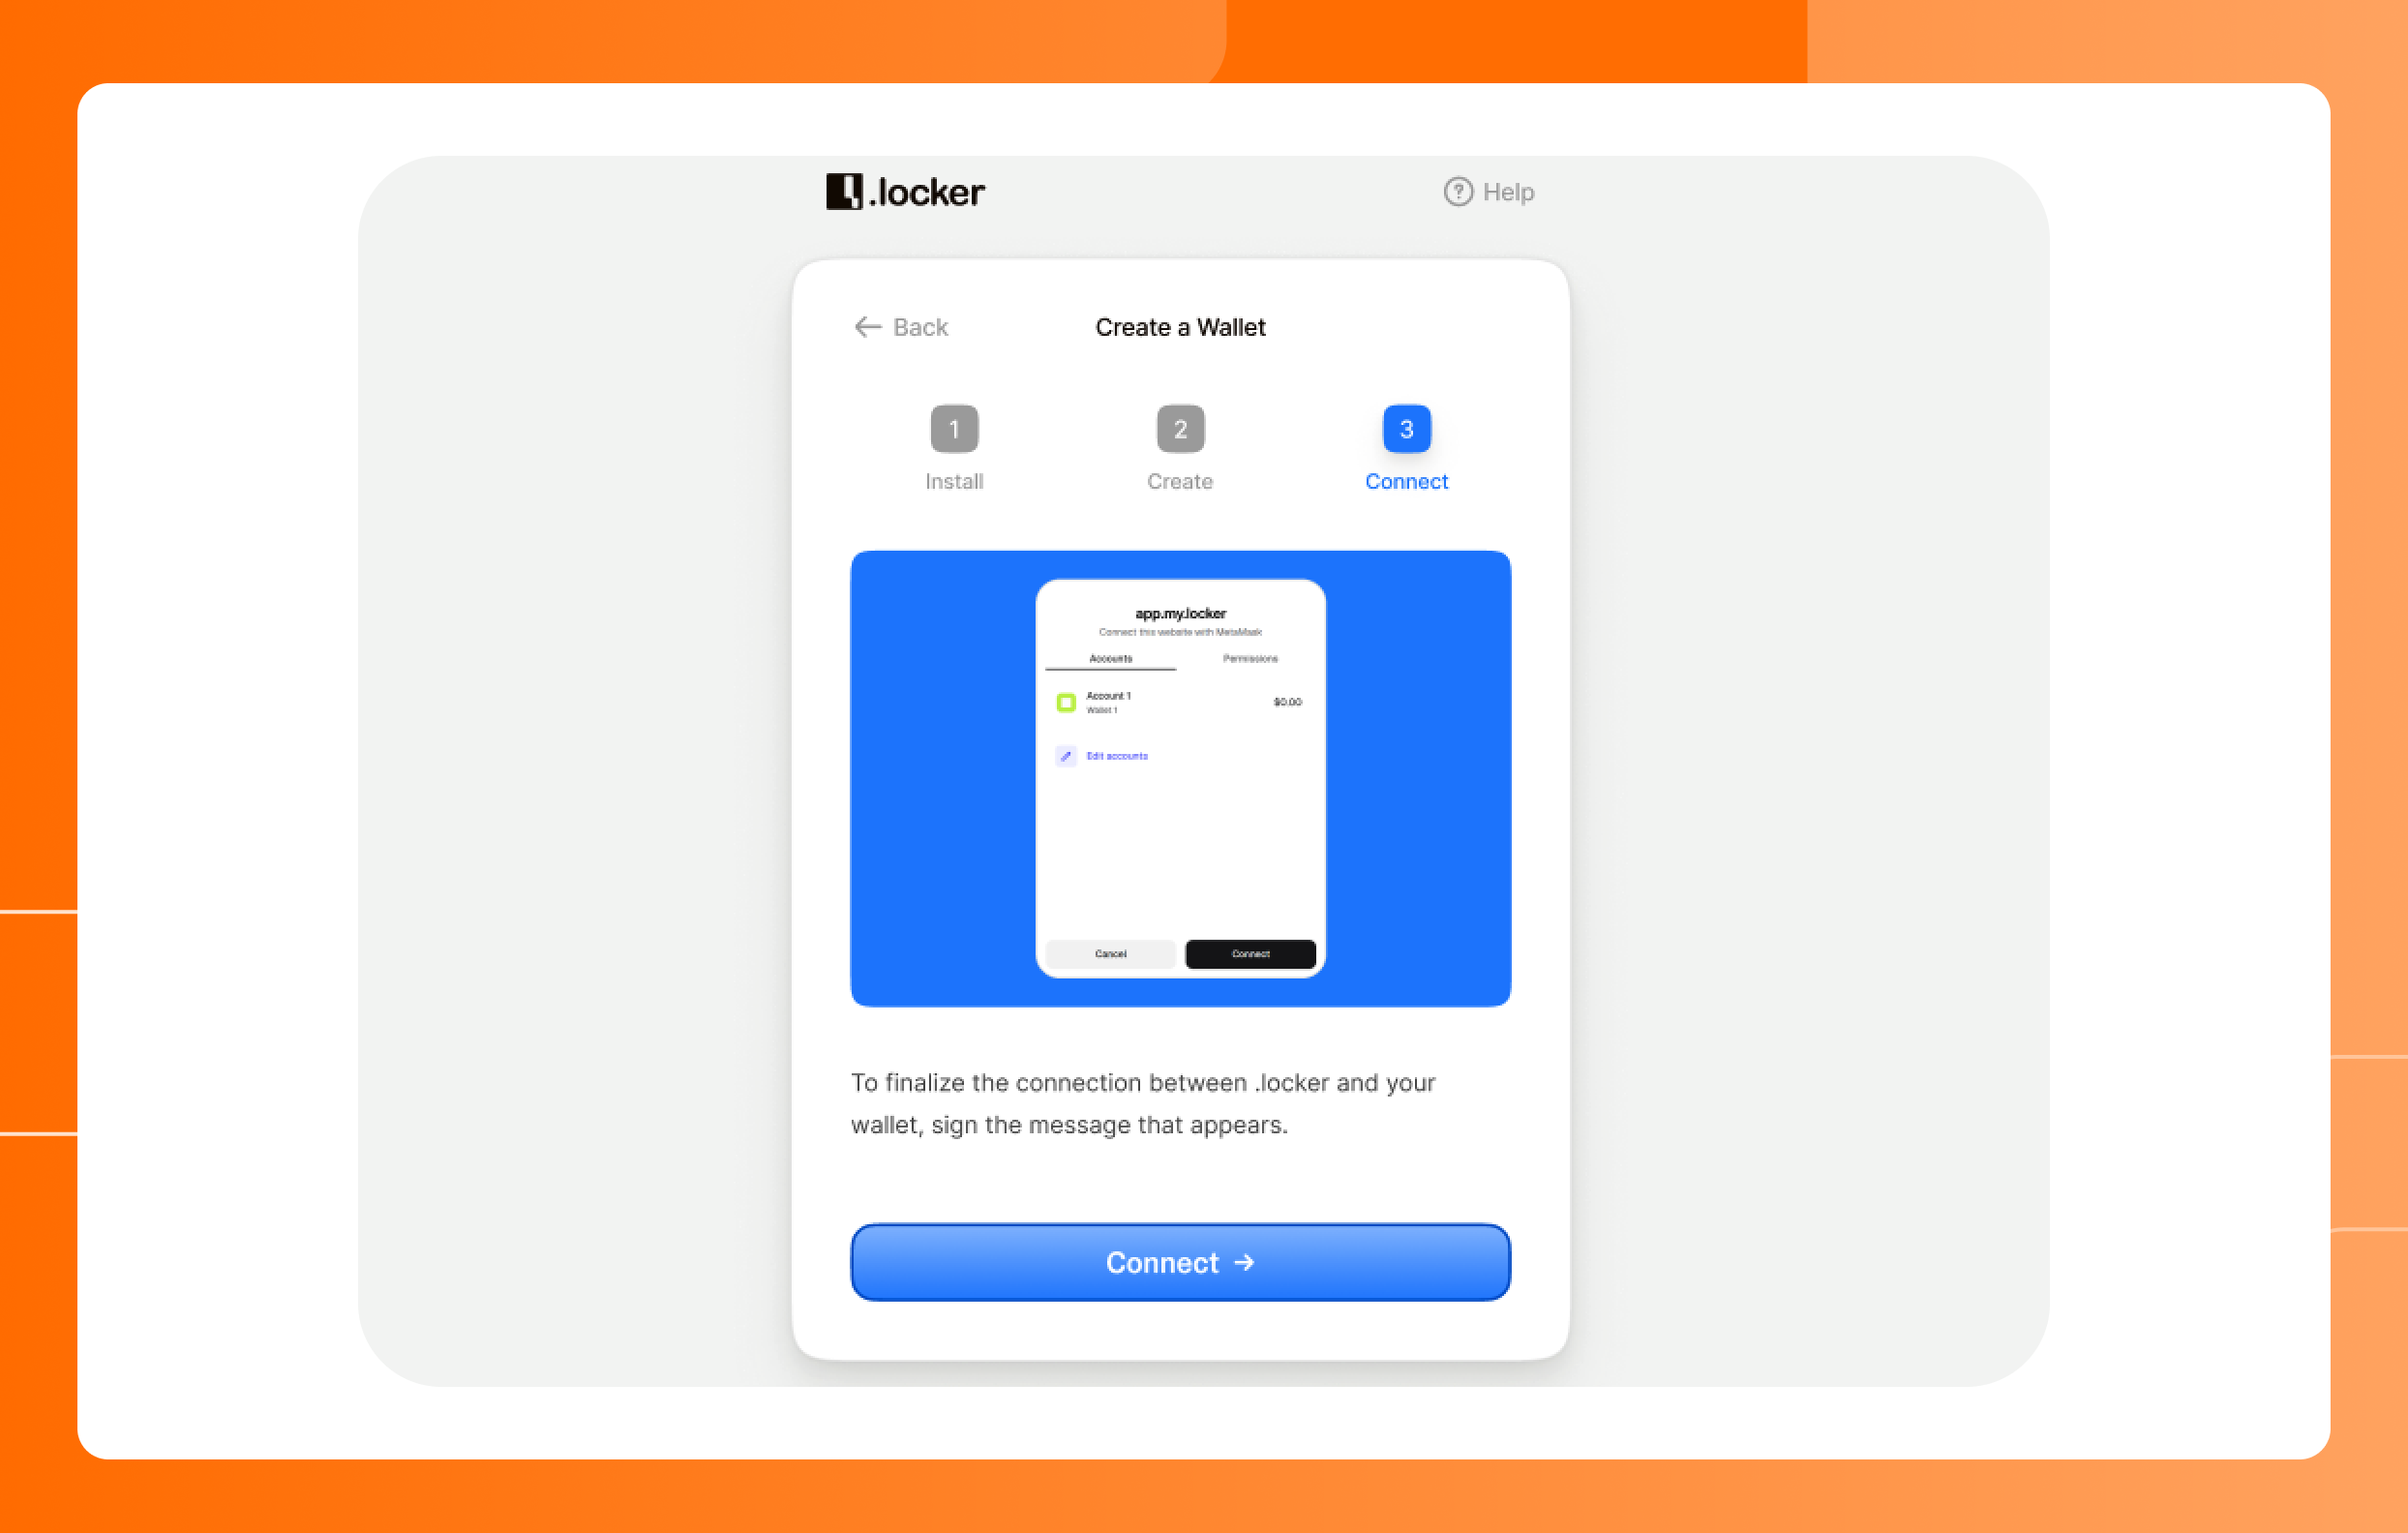
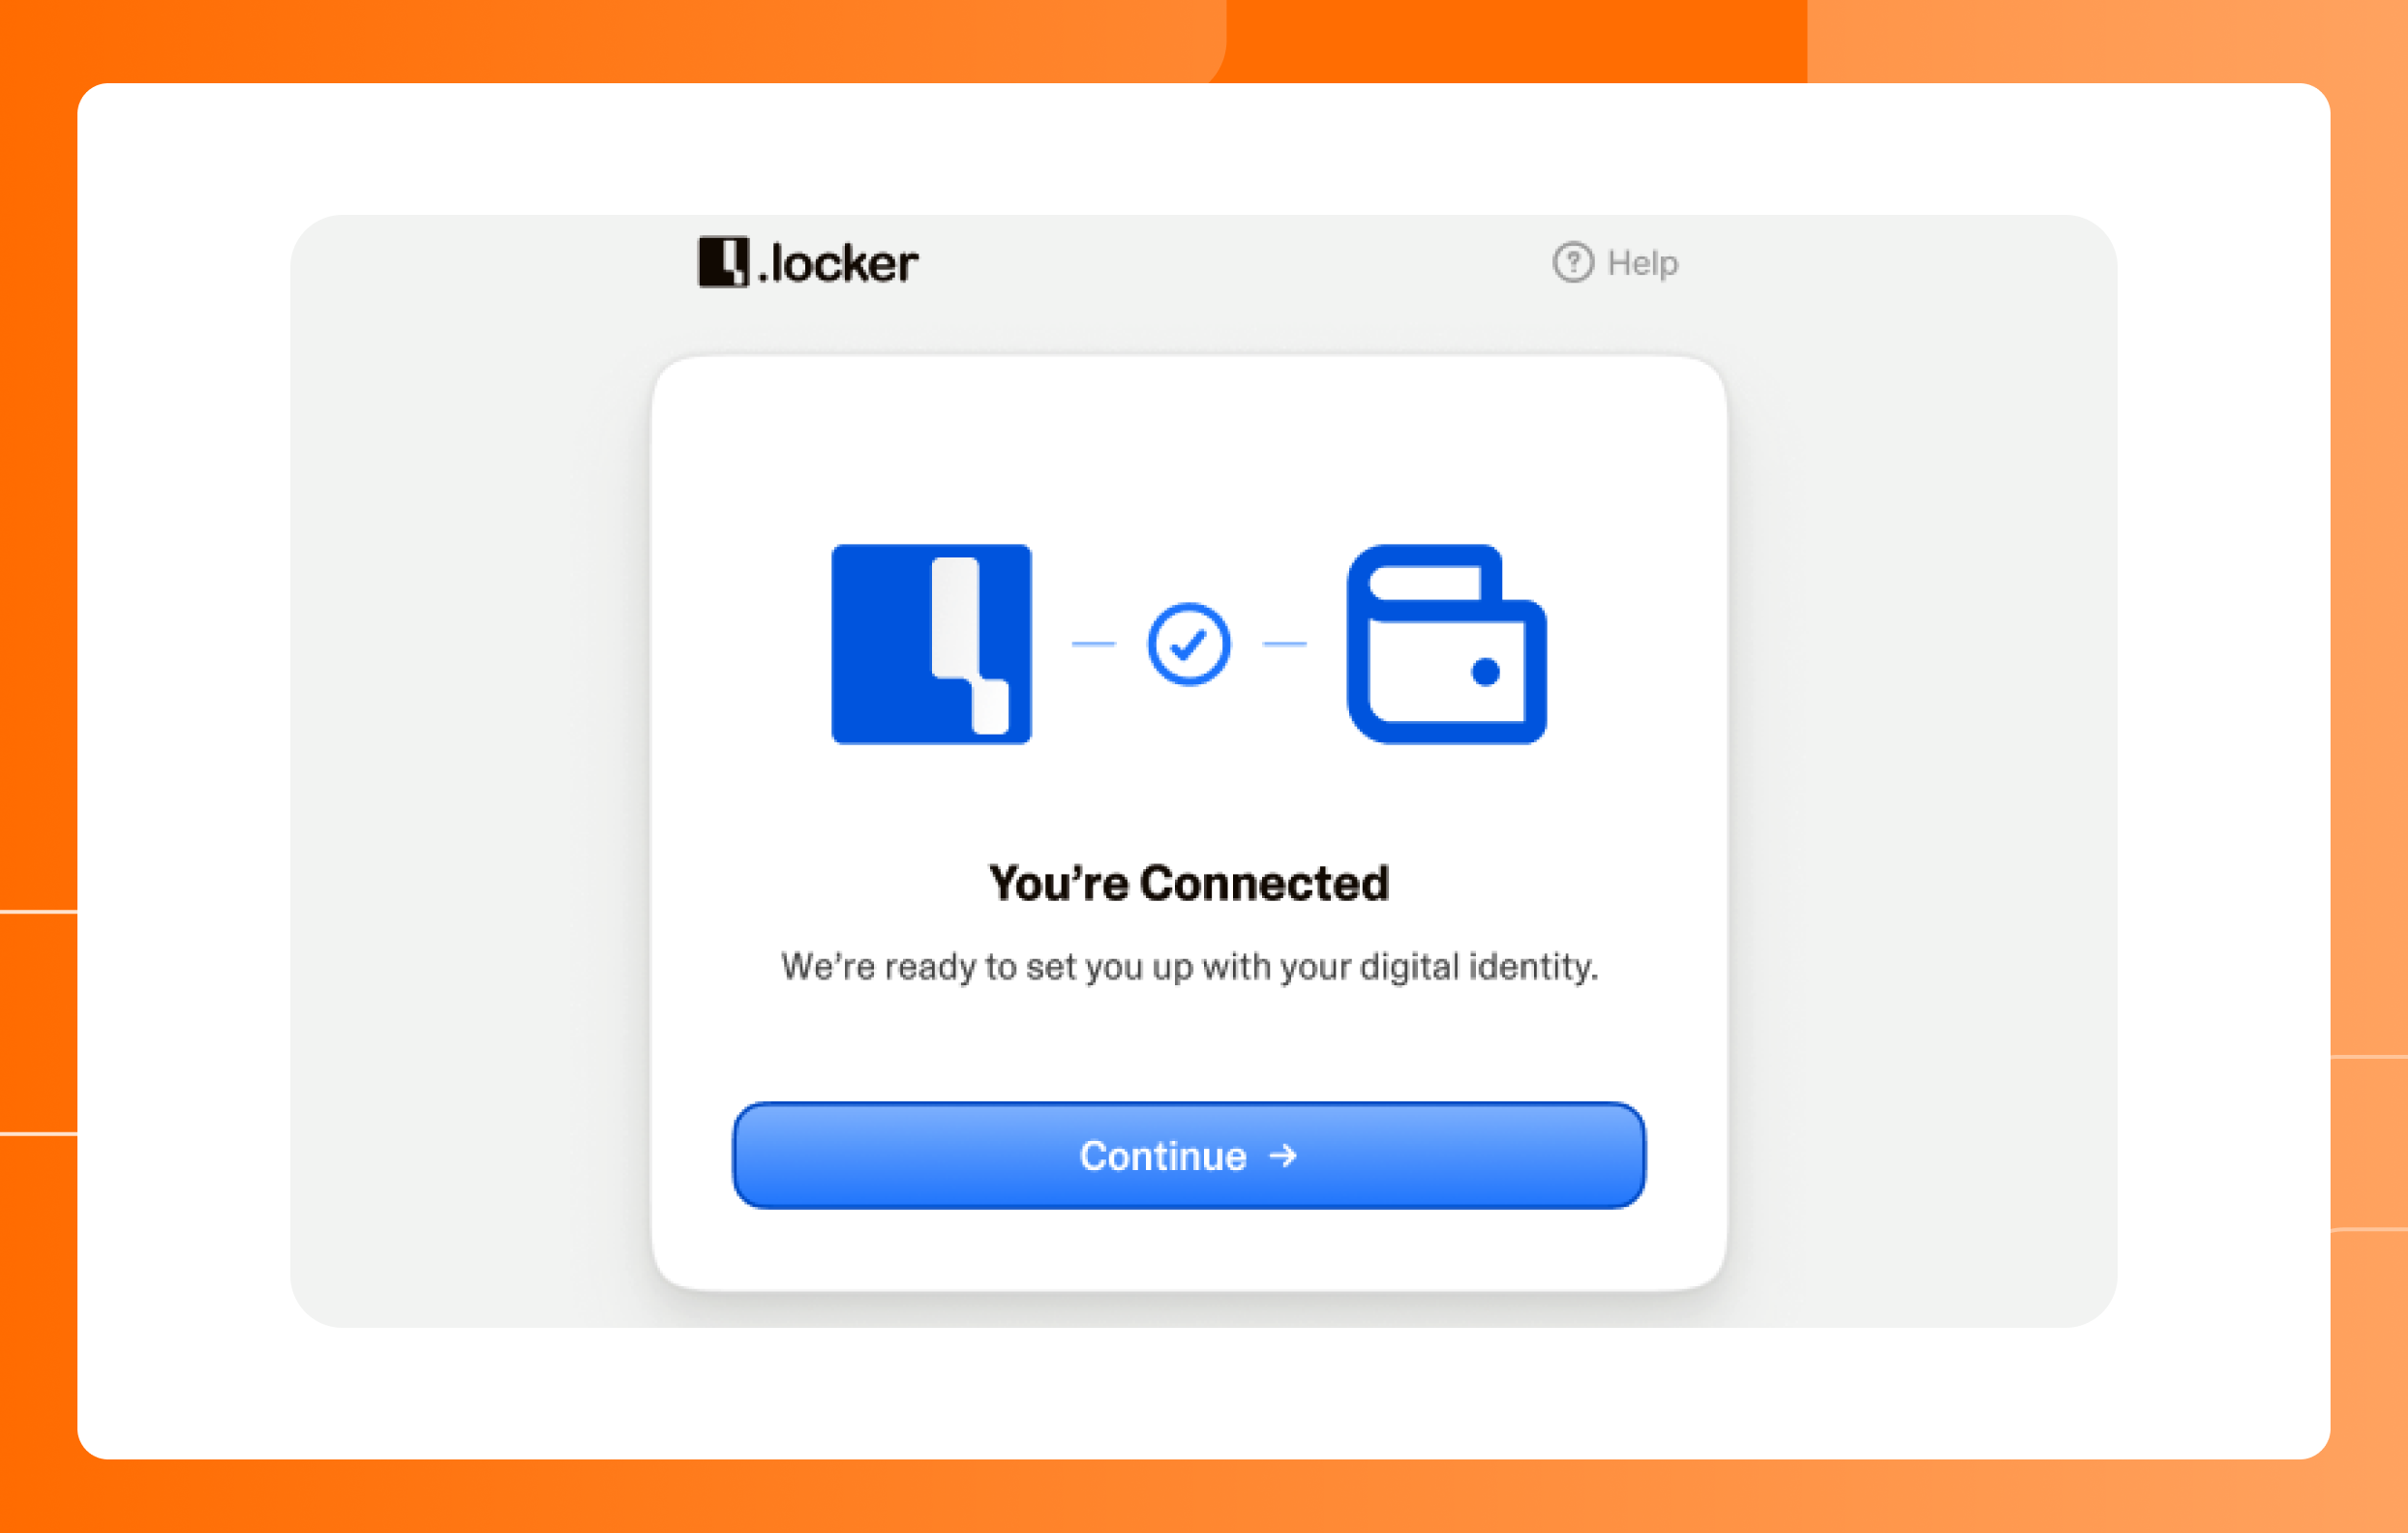
6. Once you complete the signature with your digital wallet, click “Continue” in the .locker application.
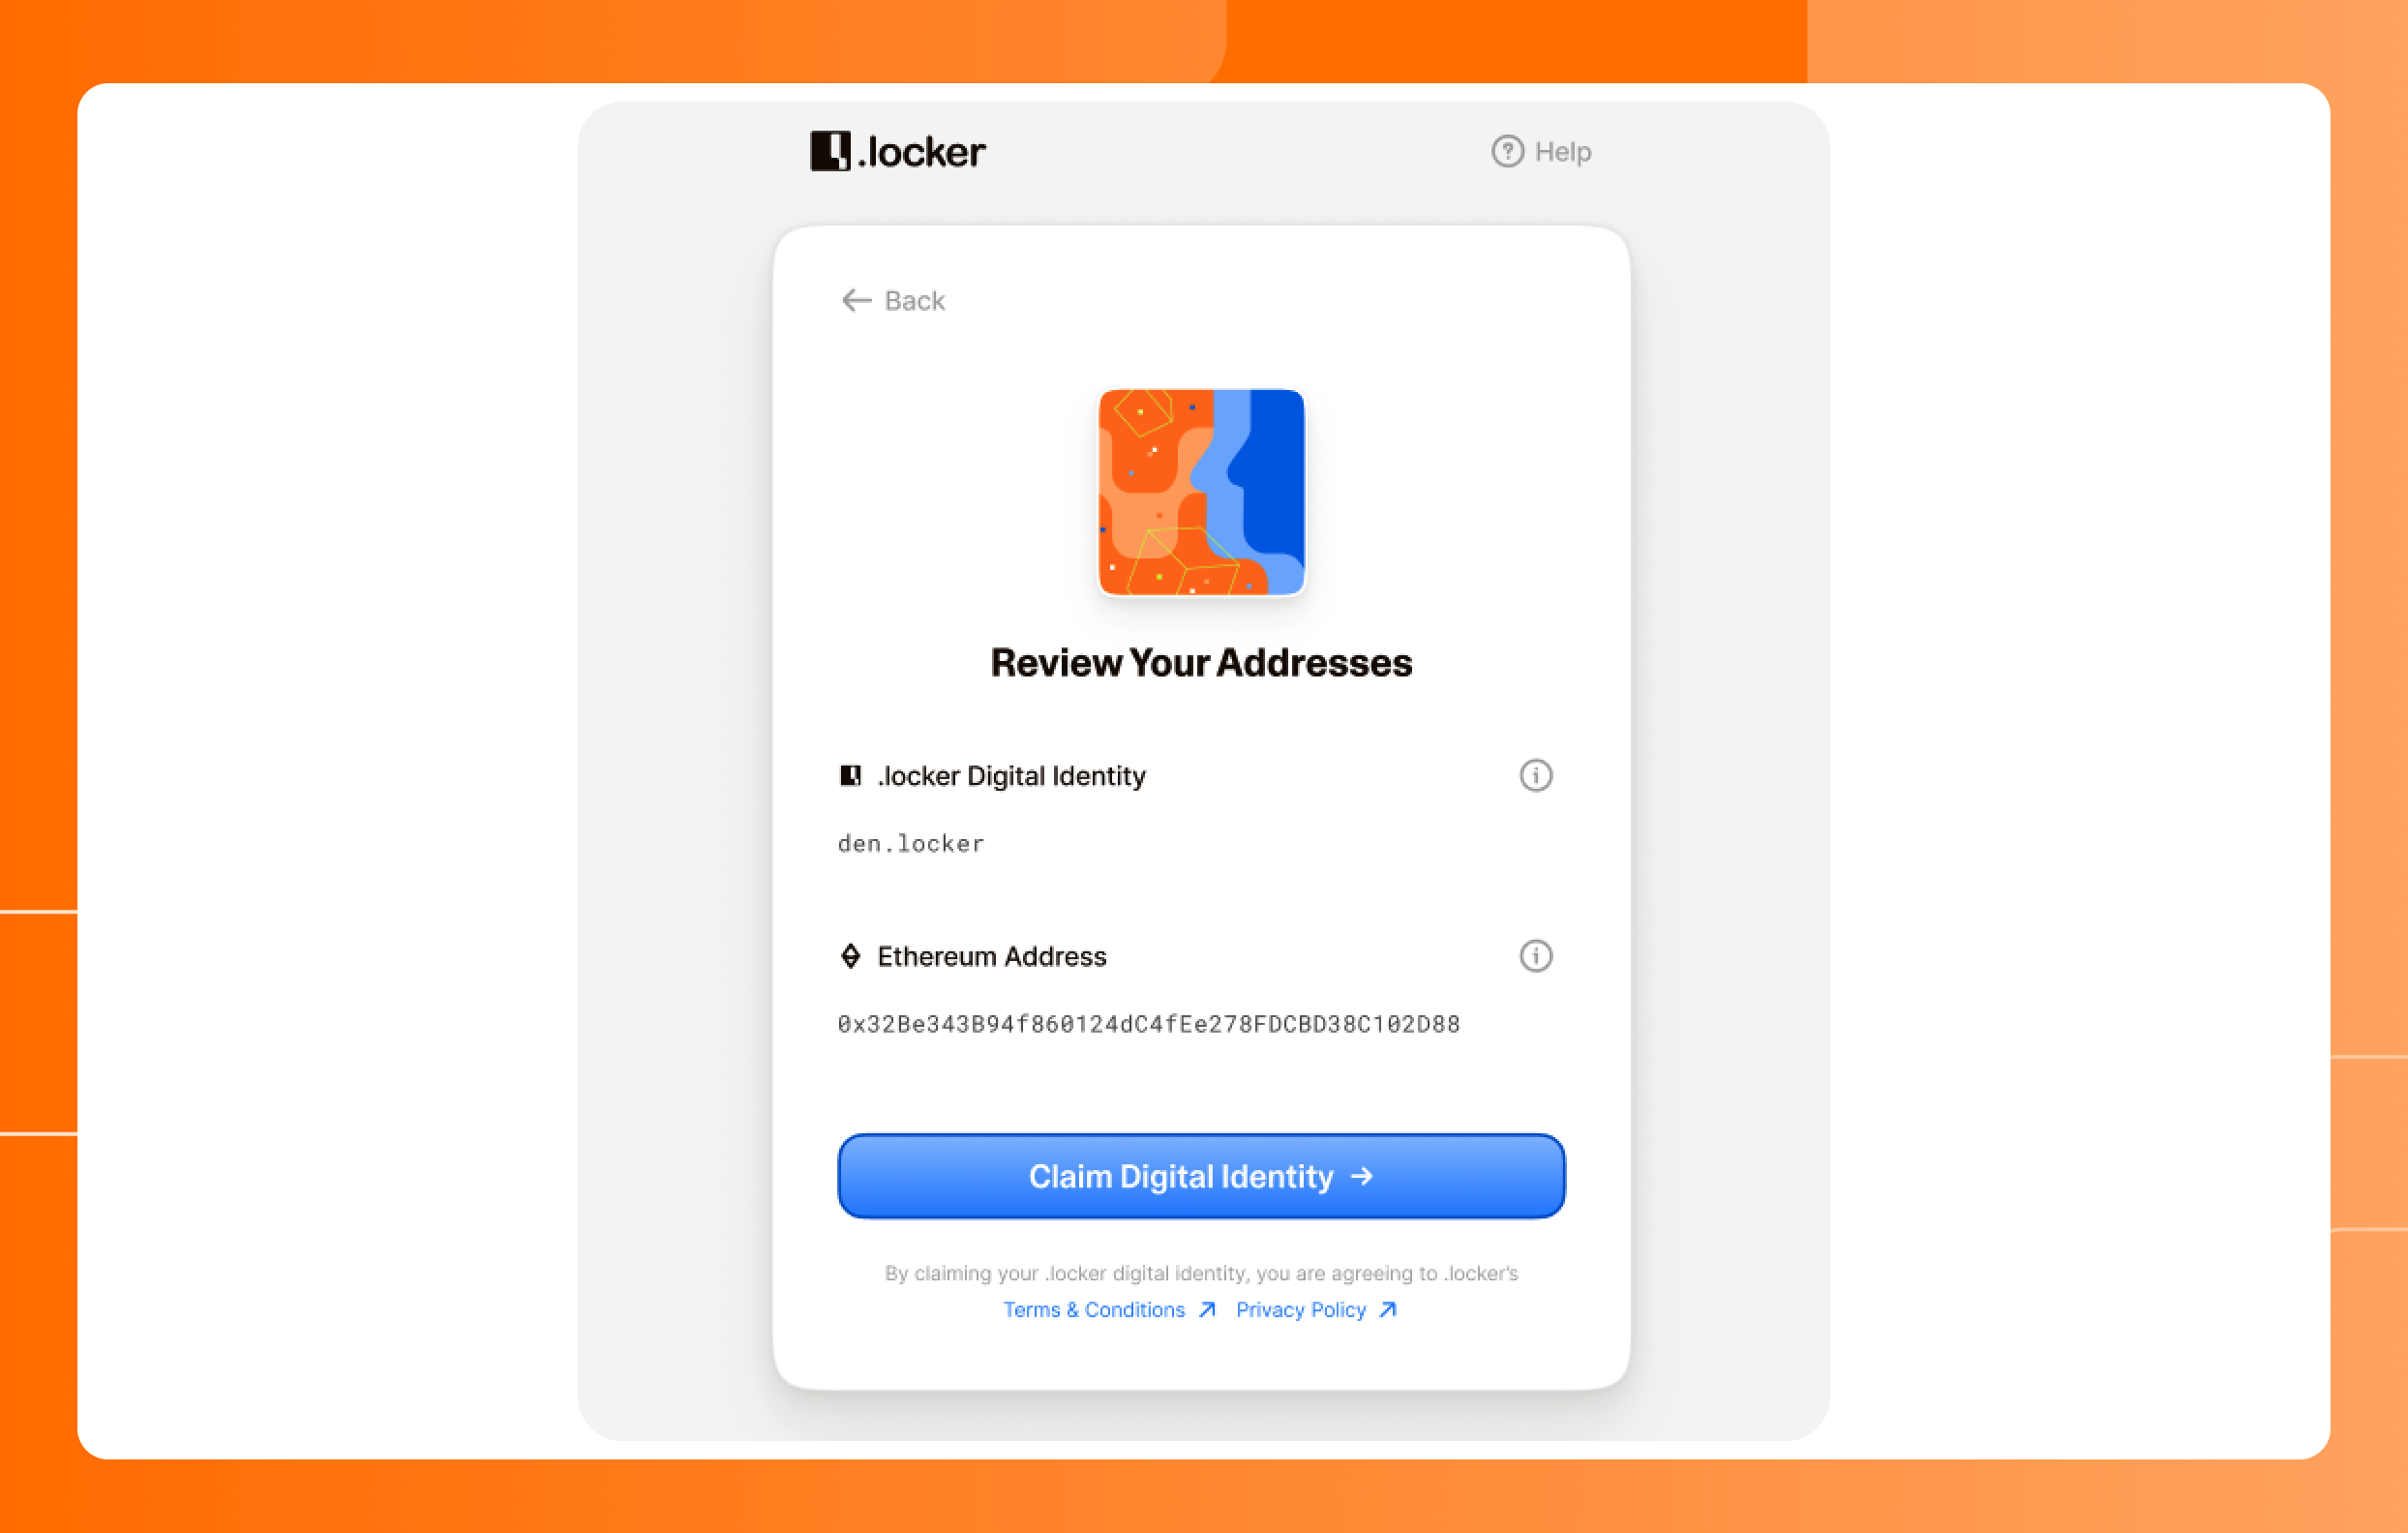
7. Review your addresses and click “Claim Digital Identity.” Don’t worry about saving your Ethereum address during this step. You’ll have access to it on your dashboard.
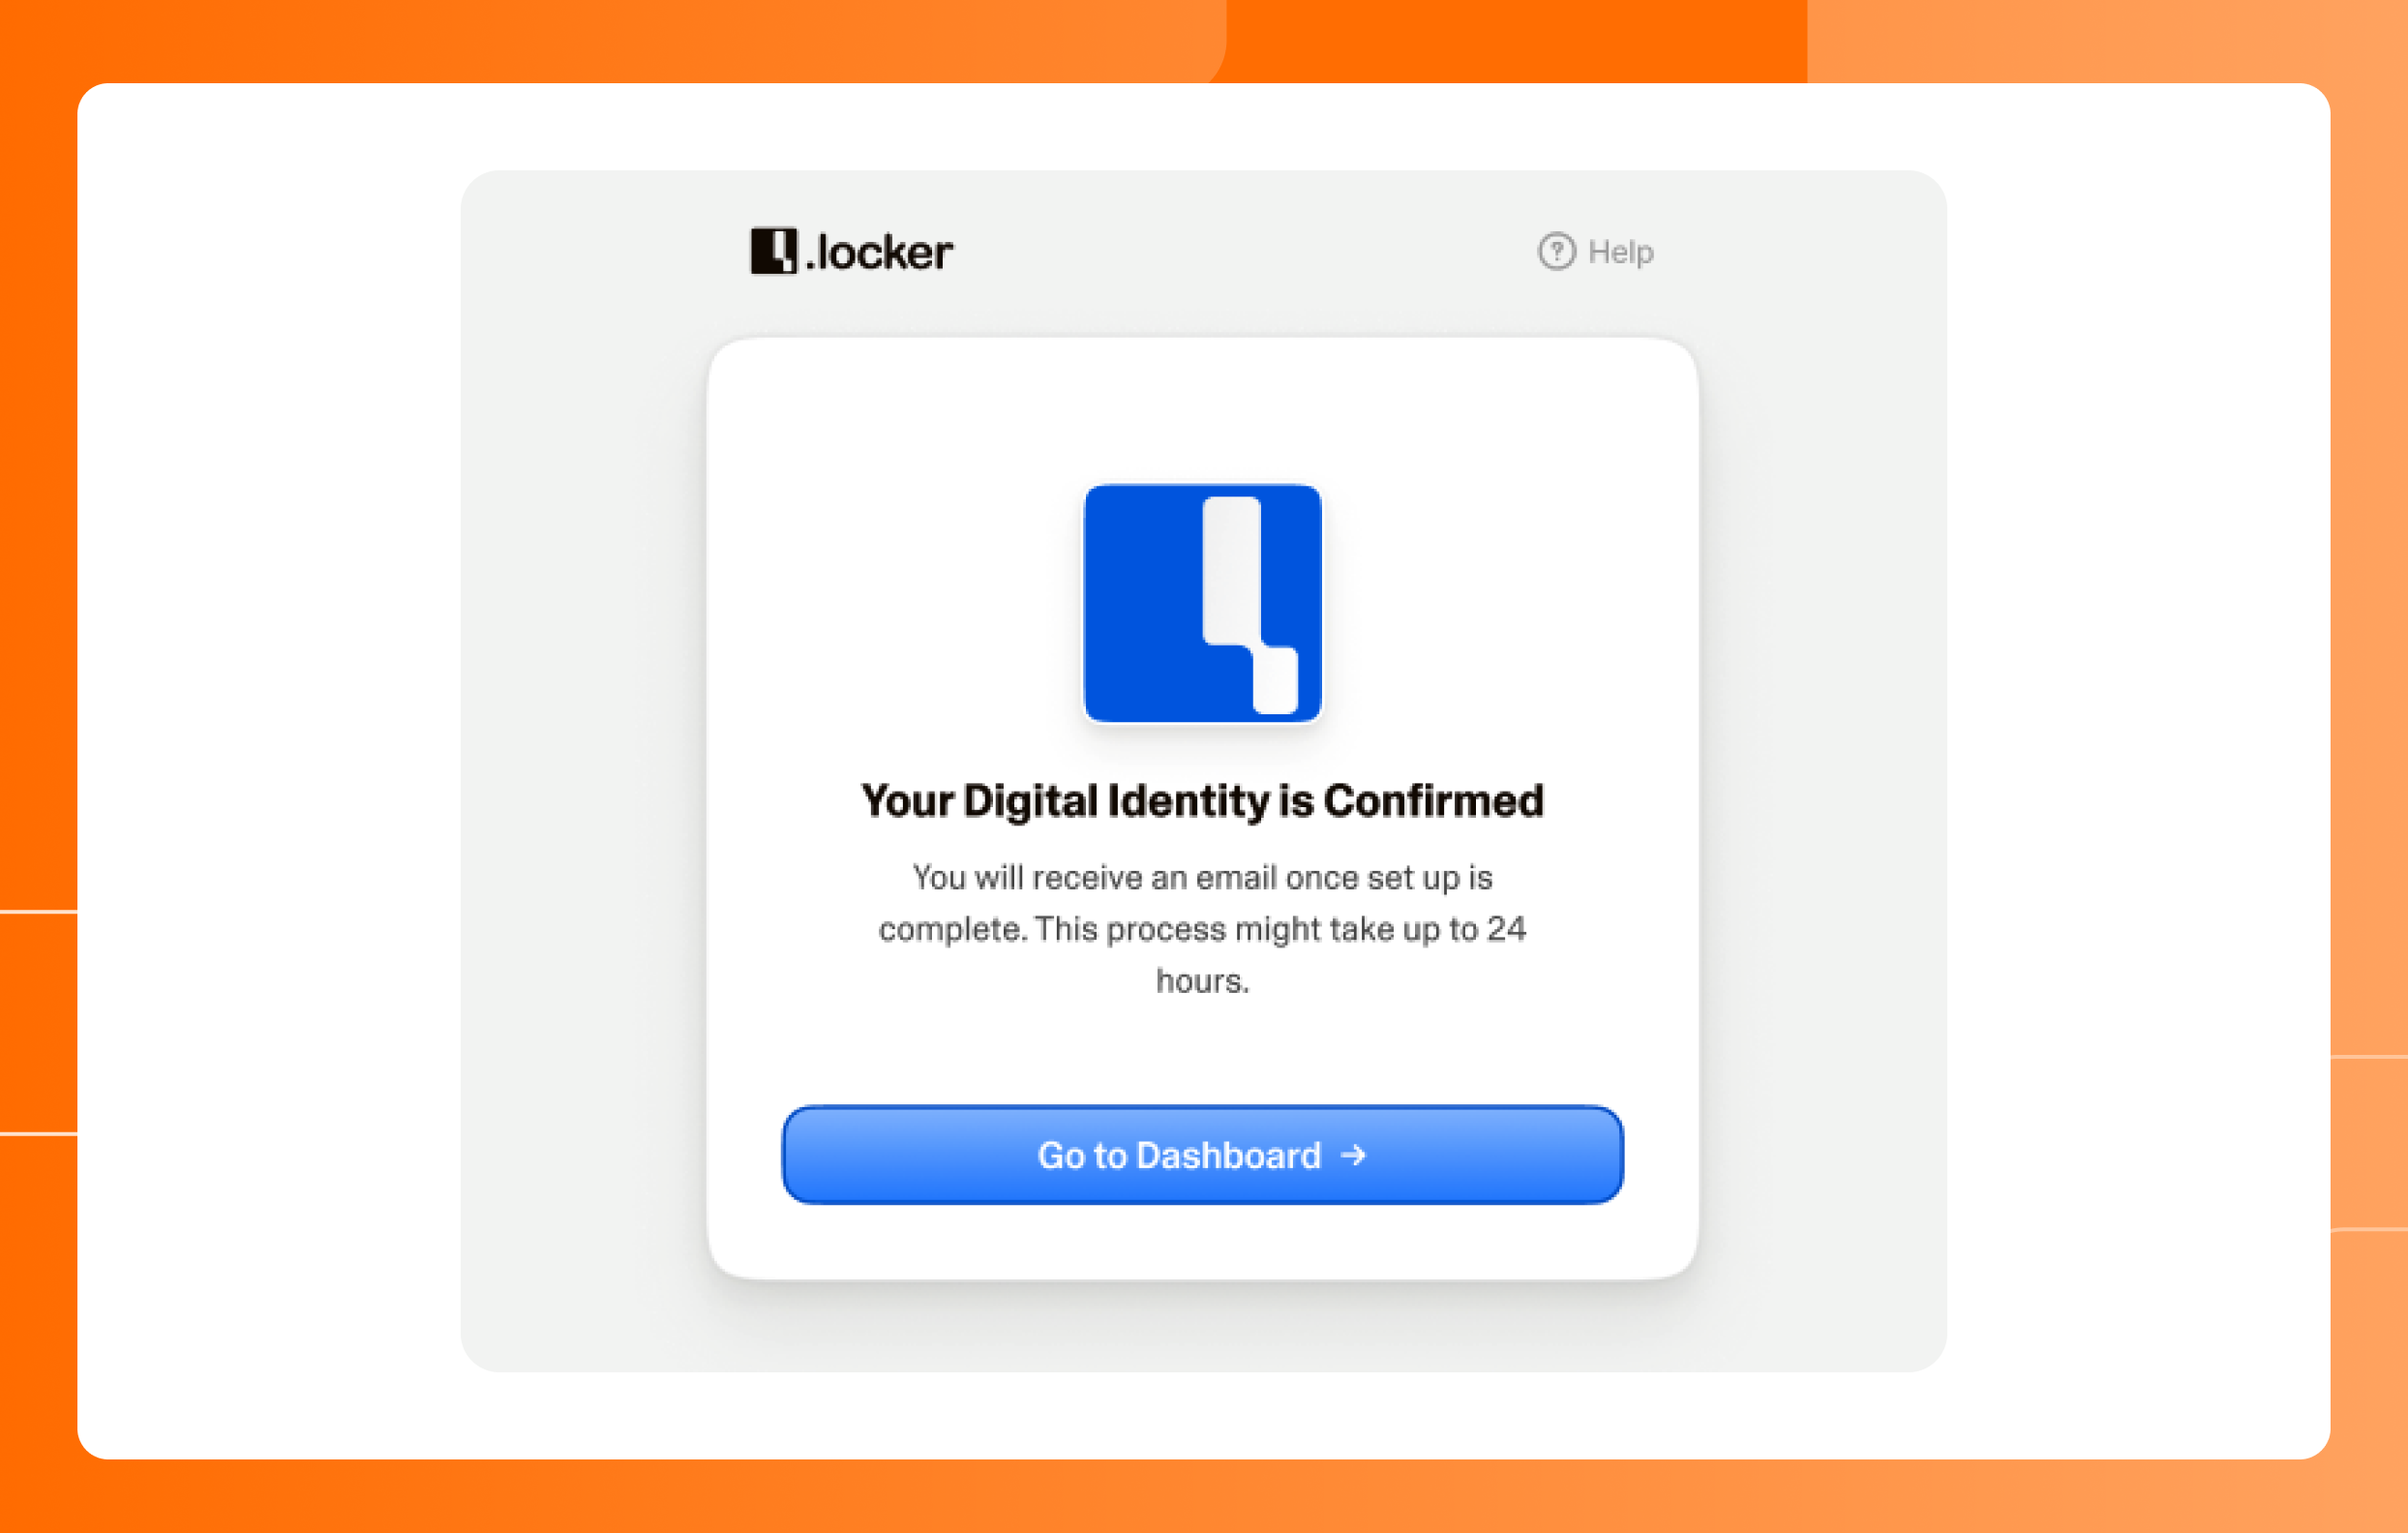
8. Once you see the confirmation screen, the process to initiate the claim of your .locker digital identity is complete. Click “Go to Dashboard."
9. On your .locker dashboard, you’ll see a notification that your digital identity is in the process of being minted. After a few minutes, this notification will disappear and a confirmation email will be sent.
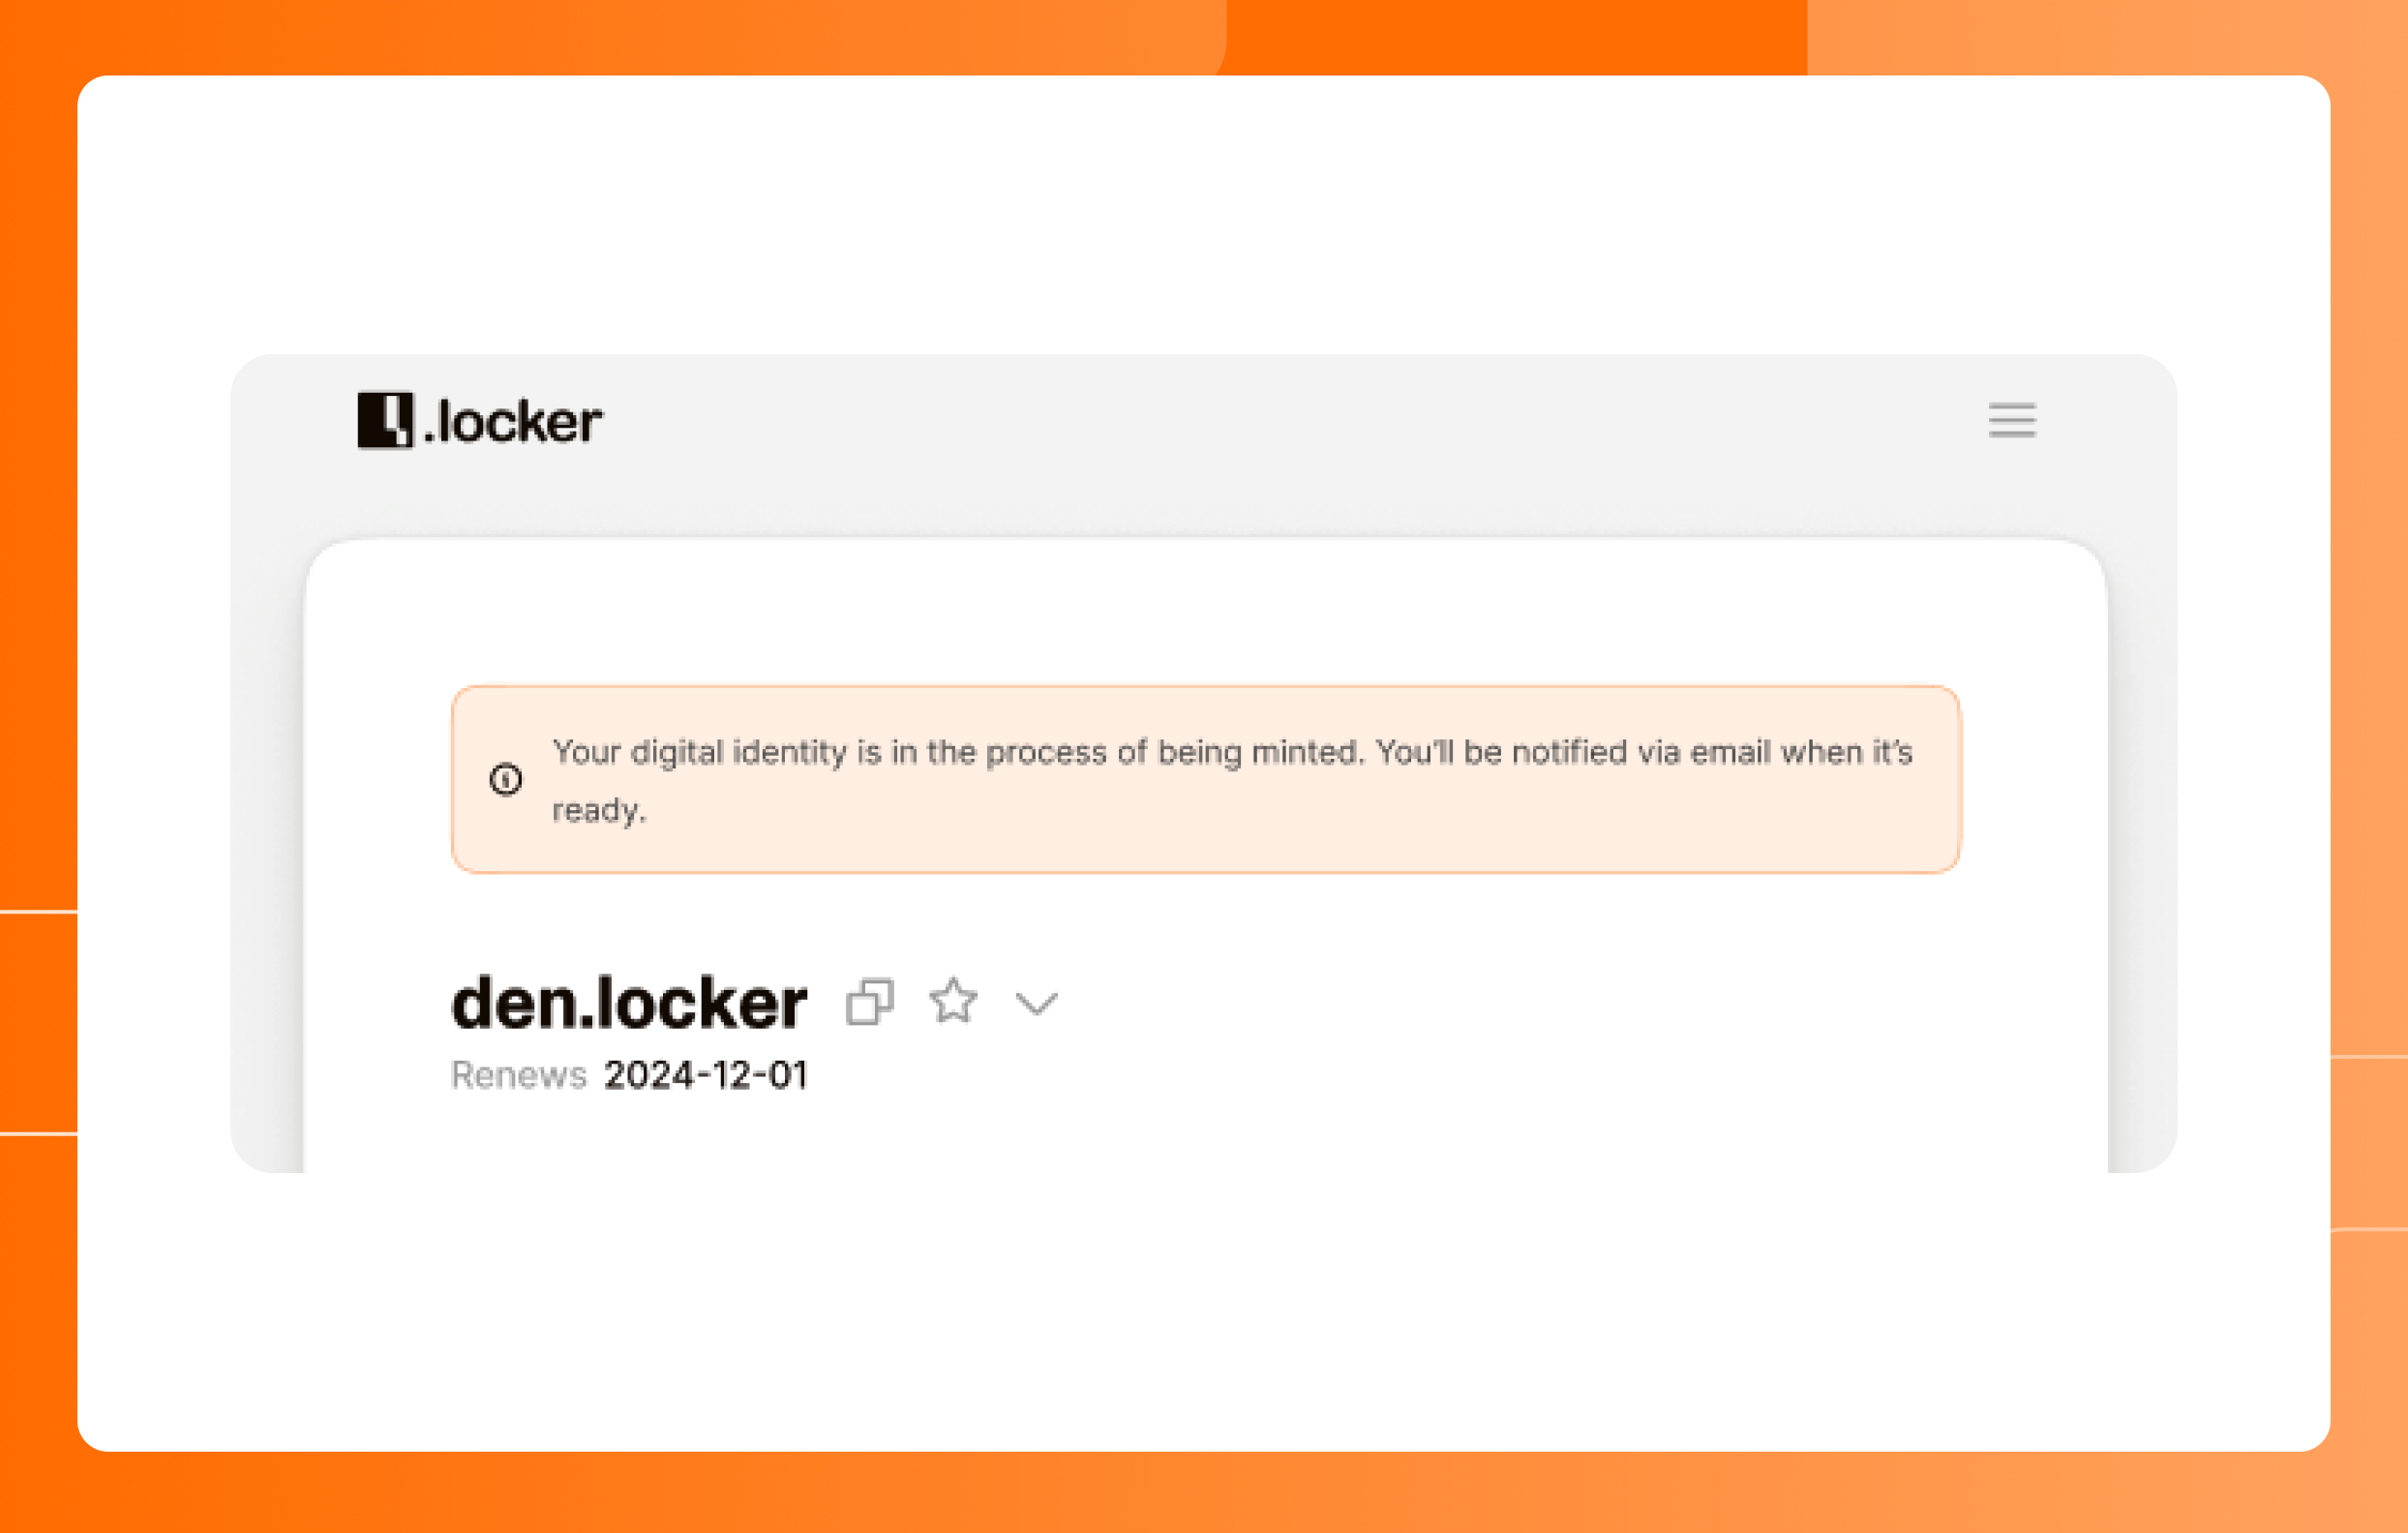
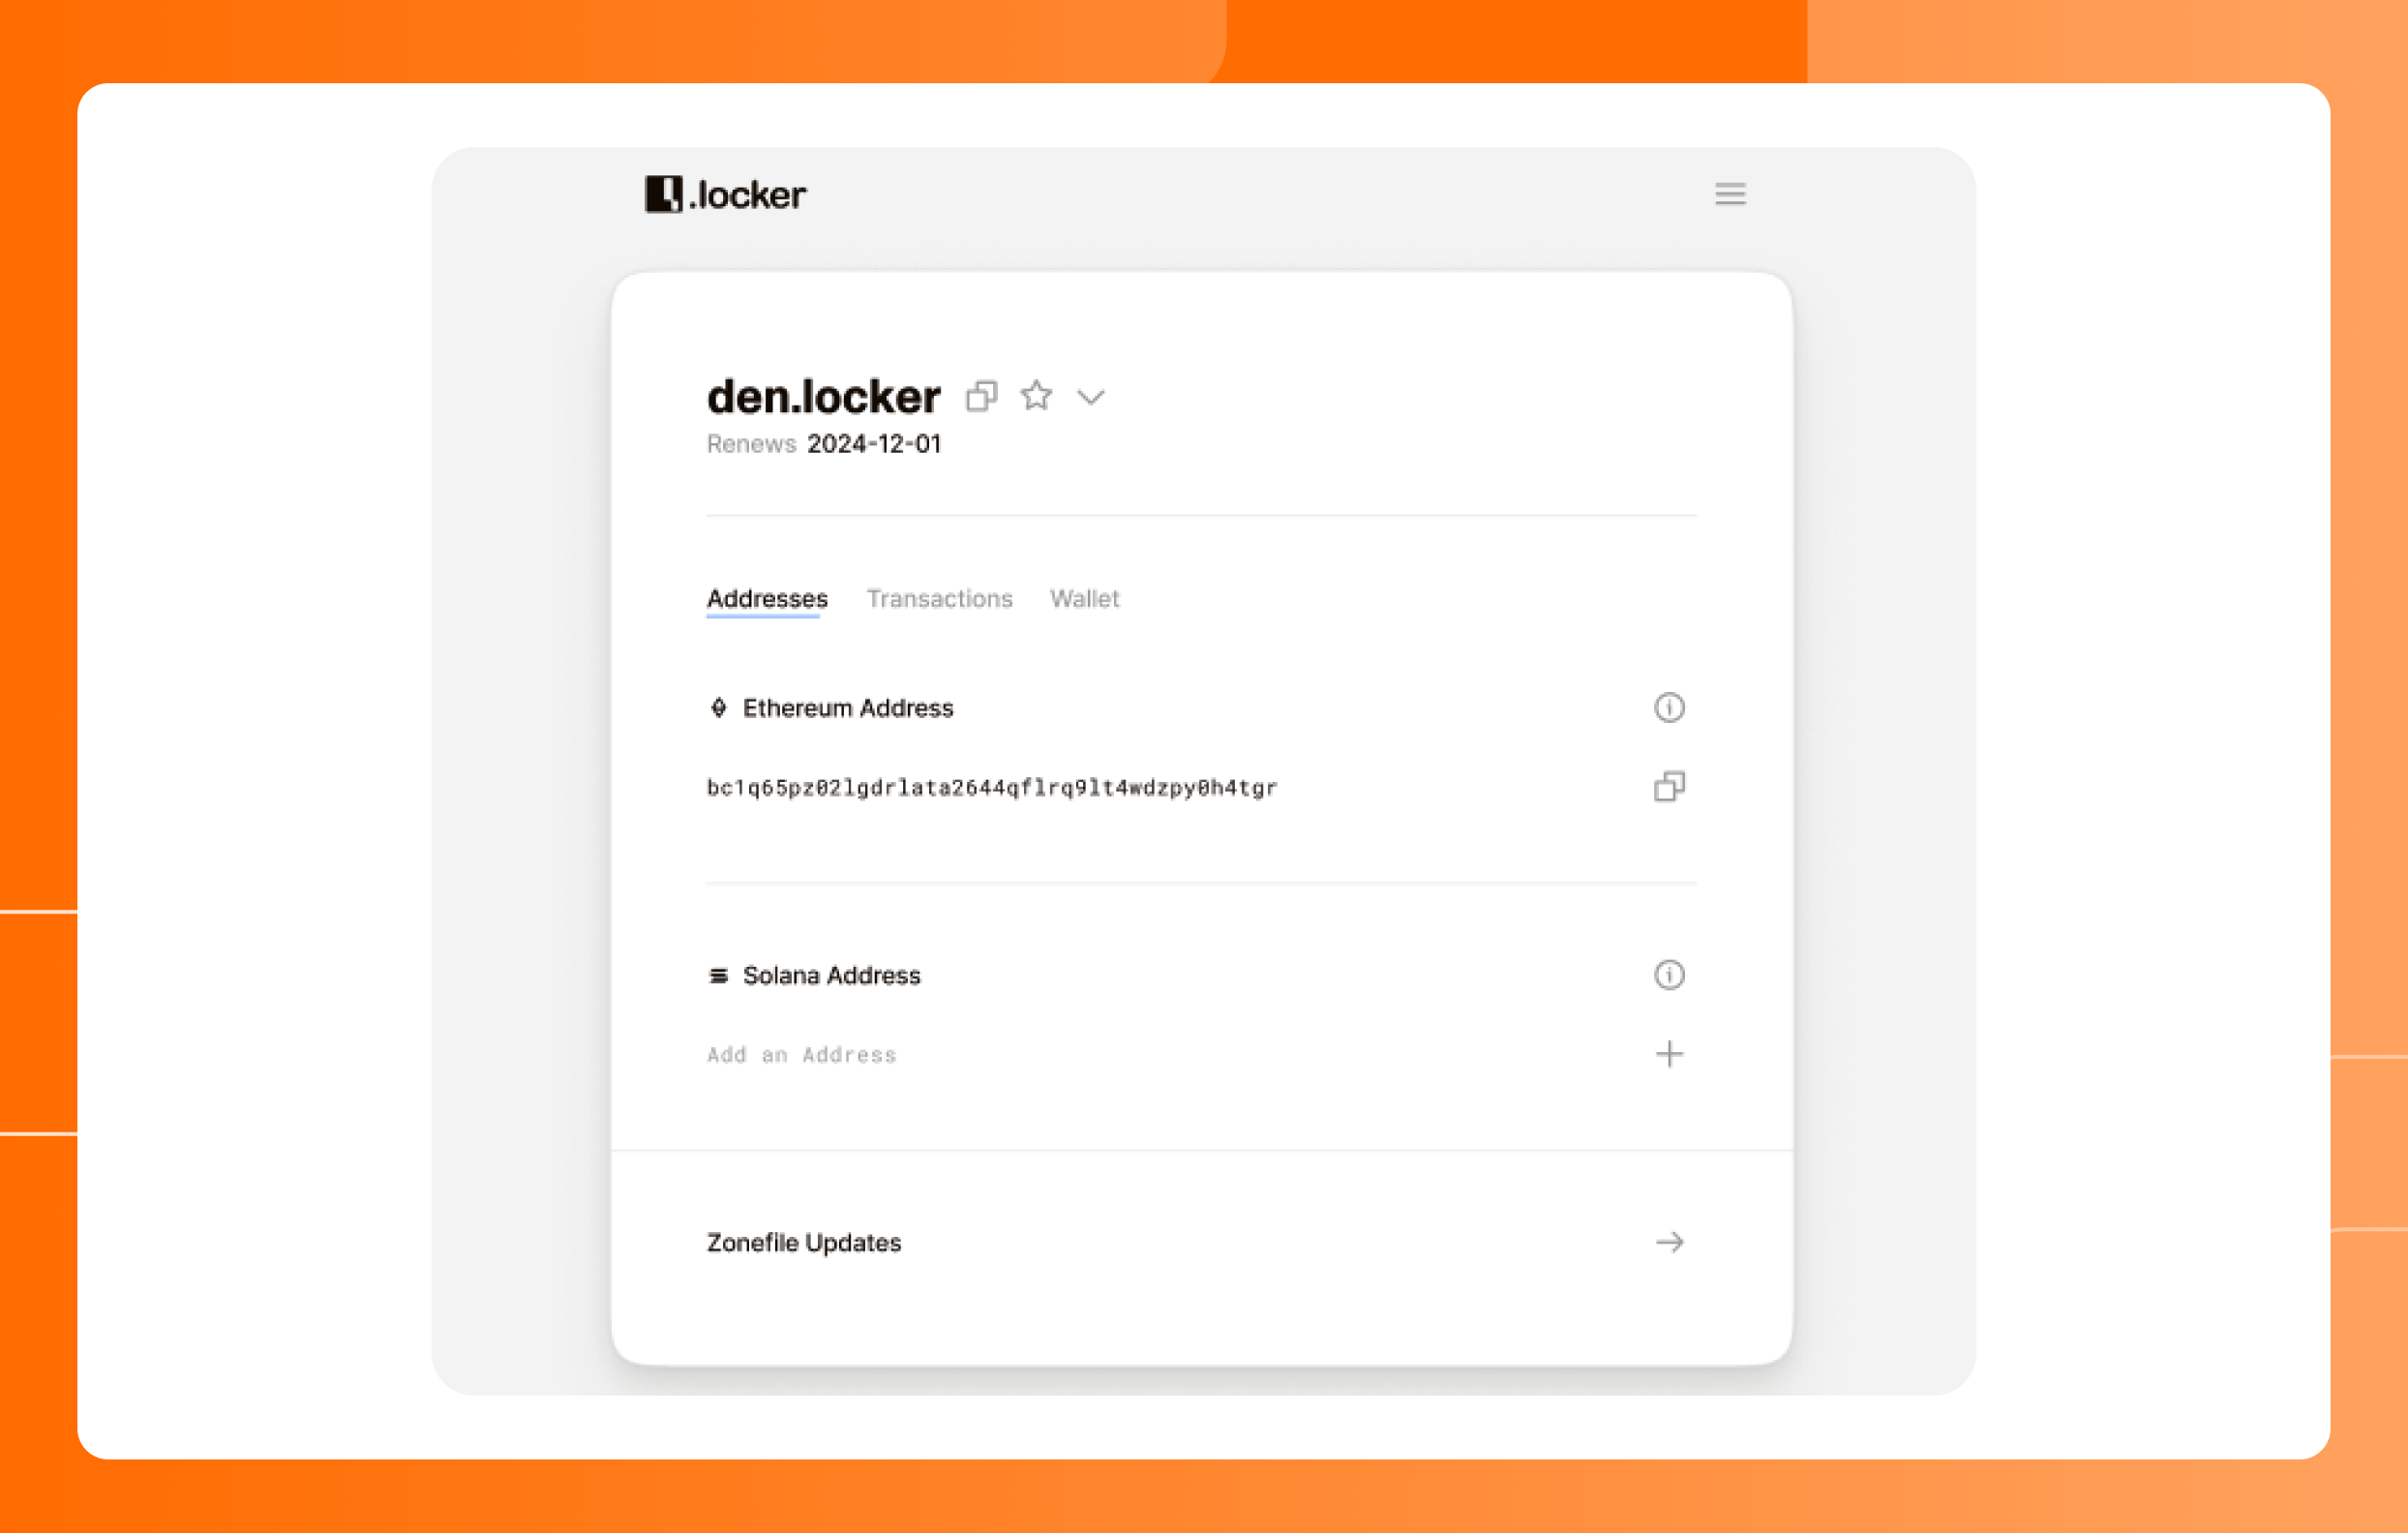
10. Once your digital identity has been minted, it's ready to use! The .locker app is for managing your addresses and digital identities. Manage your digital assets directly in your digital wallet.
Troubleshooting & Support
- If you encounter a broken link from your email, review our broken link guide to troubleshoot
- If you cannot locate your digital identity NFT in your digital wallet, please contact .locker's support team
- Remember that your domain registrar cannot assist with the digital identity claiming process. If you need help, please contact .locker’s support team
